Last Updated on June 16, 2025 by Packoi Team
In this article, we will walk you through the step-by-step guide process of designing and assembling custom packaging using materials you already have or can easily find.
Let’s get started!
Things to Know Before Making Your Own Custom Packaging
DIY custom packaging is a great option for small businesses and startups. However, there are some standout elements of packaging design that every entrepreneur should know.
1. Define the Purpose of Your Packaging
The nature of your product and its target market determine the final packaging design. Product packaging serves three important functions: protection, functionality, and aesthetics. You, as the business owner, need to decide which function should be prioritized above others.
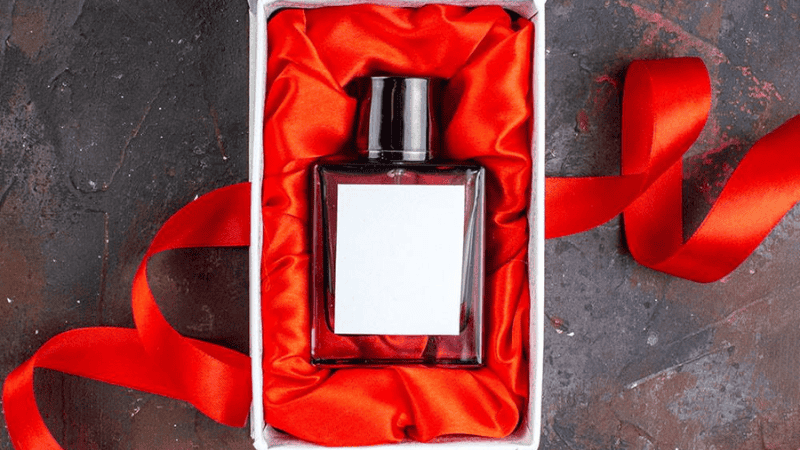
- Protection – Use packaging that keeps your products safe during transport. For example, delicate items like perfume bottles are best packed in hard cardboard boxes.
- Functionality – Consider the user’s unboxing experience. Make product packaging that is easy to open and serves a secondary function. For example, milk cartons have a screw-on cap that extends their fridge life.
- Aesthetics – Make your product packaging stand out on a store shelf by using bright colors and subtle textures (such as foil stamping or embossing). For example, jewelry houses use premium packaging materials that complement their expensive products.
Some product packaging requires additional thought and care, especially in the case of perishables and medical equipment.
- Food Packaging – Your primary packaging should be made from food-grade materials and properly sealed to prevent contamination. The US Food and Drug Administration (FDA) has a thorough guide on food packaging safety.
- Medical Products – Ensure non-reactive and sterile packaging that ensures product integrity. The FDA also requires proper labeling that clearly states the essential information needed for the safe and effective use of the medicine or medical product.
2. Choose the Right Packaging Style
There are multiple ways to safely package a product. Your packaging materials, size, weight, and design elements all play an important role in attracting customers and ensuring sales.
- Packaging Style & Shape – You can choose from different shapes like boxes, pouches, wraps, bottles, and cans. Each shape also comes with a material choice, such as bottles, which can be made from glass or plastic, and boxes, which can be made from cardboard, plastic, or recycled paper.
- Tamper-Resistant Packaging – Adding custom stickers, special tapes, and seals to your product packaging will prevent unauthorized access. In the worst-case scenario, tamper-resistant packaging will leave visual evidence of tampering. This type of packaging is ideal for food items and premium products.
- Premium Look & Feel – Customers who buy high-end luxury goods expect the packaging to reflect its contents. Use premium packaging materials like leather, glass, and metal for a more upscale look. Weight is also another contributing factor in luxury packaging. Even if the products are lightweight, hefty packaging indicates quality.
3. Gather Essential Materials and Tools
Now that you have a clear vision of your product packaging, it’s time to gather the essential materials and tools to help you shape those materials. For DIY packaging, many premium materials are simply impractical, and thus, you have to be creative with your packaging.
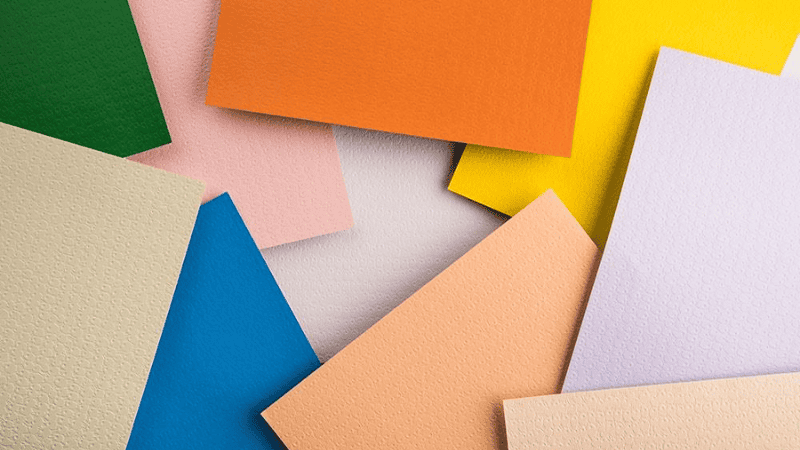
Cardstock, Kraft paper, and corrugated boxes are the best options for custom packaging. You can easily source these materials from your local retailers or online sellers. They are quite affordable and don’t strain the budget of small businesses.
Optionally, you can bulk order generic packaging solutions such as bottles, glass jars, cans, or pouches from a packaging retailer. Then, customize your packaging with printed logos and labels.
Of course, you will need quality tools to go along with your materials. Measuring tools, scissors, utility knives, cutting mats, glue guns, staplers, etc. You can either buy a color printer or look for a local print shop that does small-volume prints.
We recommend looking at local recycling centers and online marketplaces for used equipment.
4. Establish Your Brand Identity
Finally, you have to formulate a branding and visibility plan. Your packaging should not only protect your products but also improve brand recognition.
Add your brand’s logo to your packaging, along with information about your website and social media handles. Your goal should be to fully utilize the packaging area.
Good product packaging reflects your business’s values and goals. Eco-friendly packaging solutions, such as zero plastic use, recycled paper, or ethically sourced materials, are a great way to establish your brand as environmentally safe.
More and more customers are now choosing to support brands that use natural materials and avoid single-use plastic. Today, you can easily find highly durable, eco-friendly materials at most retailers.
Carefully consider your brand colors, design elements, materials, and packaging style so your packaging leaves a lasting impression on the customers.
How to Make Your Own Custom Product Box or Packaging?
DIY packaging is a relatively complex process requiring the use of various skill sets. However, with proper planning and the right tools, everyone can make their own custom packaging.
Here is a step-by-step guide to help you through the process.
Step 1 – Choose the Right Packaging Style for Your Product

We have already discussed the importance of choosing the right packaging style. Now, it’s time to jump into the details. There are three DIY packaging ideas that are ideal for small businesses.
- Rigid Boxes – Best suited for fragile items, such as custom printed mugs, condiment jars, small electronics, decorative items, etc.
- Flexible Bags – Ideal for non-fragile products like books, textiles, food items, etc. Here is everything you need to know about flexible packaging.
- Watertight Bottles – Recommended for liquids, such as shampoo, oil, sauces, juice, etc. Some bottles require additional secondary packaging for protection.
Step 2 – Measure and Plan Your Layout

The adage “measure twice, cut once” has never been truer. Good packaging requires a thorough understanding of product sizes and material layout.
You need to accurately measure the length, width, and height of your products. Account for folding, cutting, and overlapping to ensure your packaging is slightly bigger than the products.
Always remember to keep your measurements consistent. We recommend using either inches for the American market or centimeters for Europeans. Whatever measuring unit you choose, stick with it throughout the planning and cutting process.
For larger shipping boxes, businesses often use protective padding or filler material (packing peanuts or bubble wrap). We recommend at least one inch of clearance on all sides to account for the padding.
Step 3 – Prepare Custom Design Elements for Your Packaging
Once you have your basic shape and material selected, it’s time to plan your branding strategy. The simplest way of customizing your packaging is to add stickers. These stickers will have your brand’s logo, the product name, and basic information printed on them.
For full-color branding, go to a print shop and have them print your packaging design on the cardstock or cardboard before cutting and folding. You will need to follow a print layout chart that ensures all design elements are oriented correctly.
You can use free design tools like Canva for a complete DIY approach. Alternatively, you can hire a professional graphic designer for a more polished packaging design.
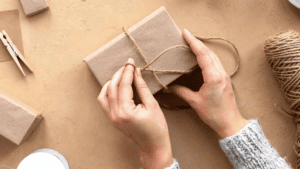
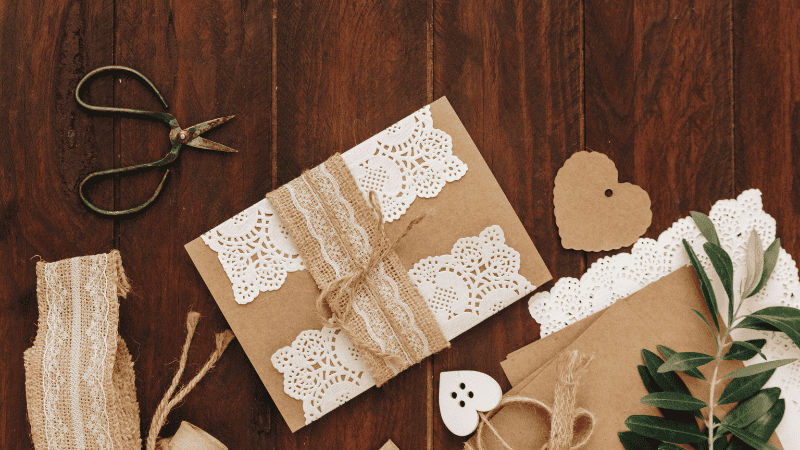
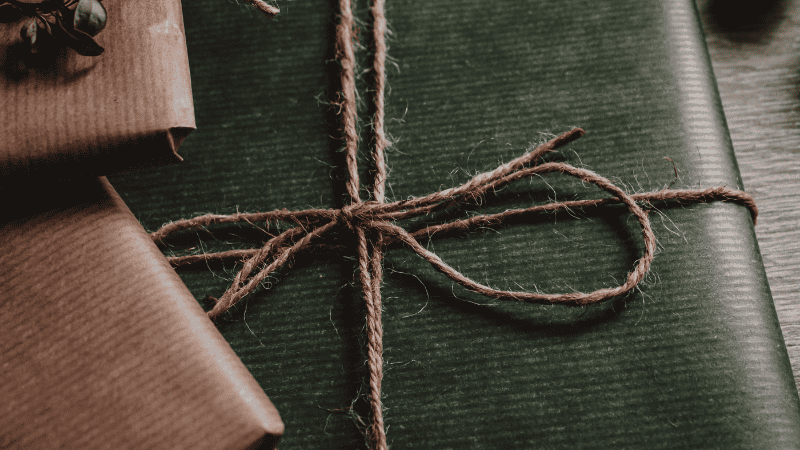
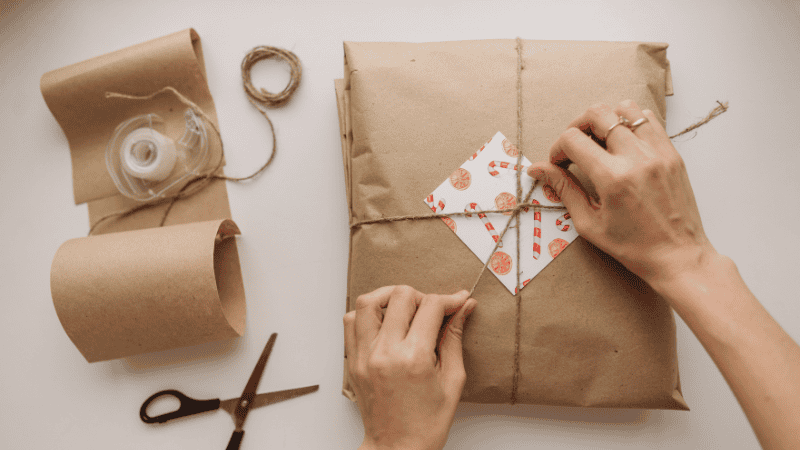
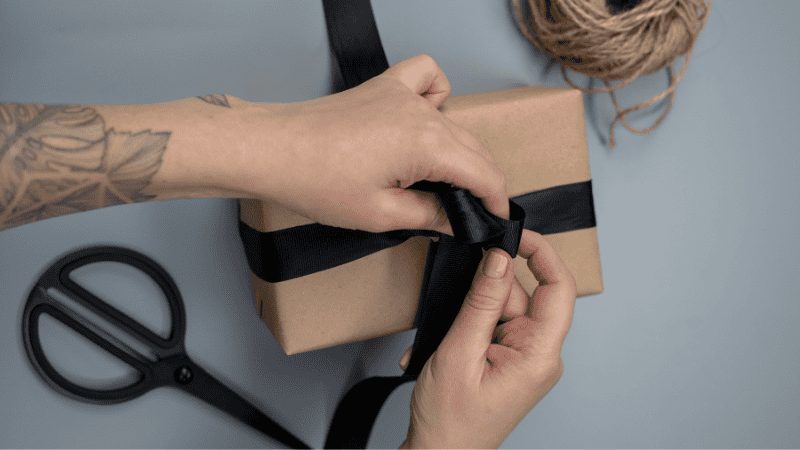
Finally, there are some decorative elements that you can add to your packaging. Wrap your packaging in a string or ribbon to add a personal touch.
Step 4 – Select and Prepare Your Materials
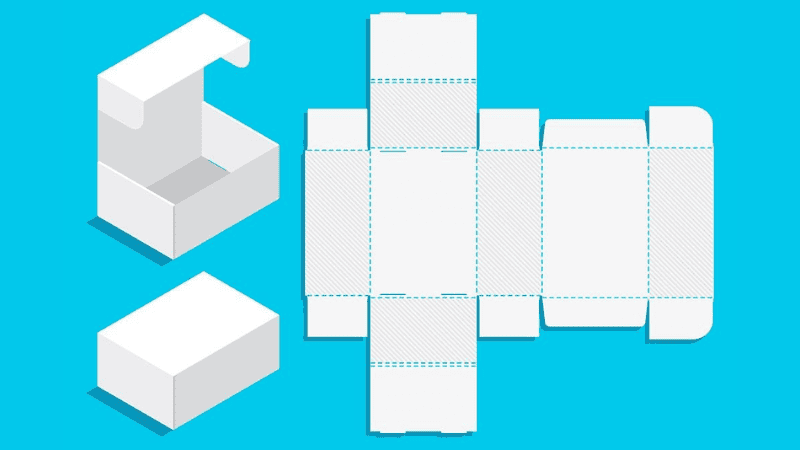
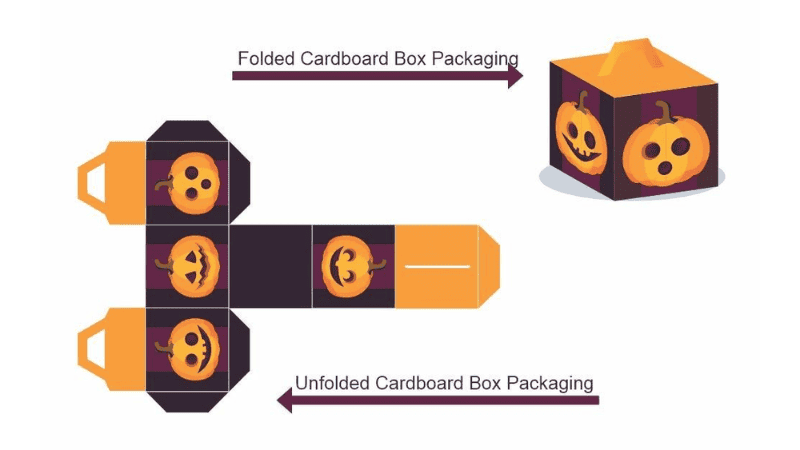
There are some important preparatory steps required before you start cutting and folding your packaging. Box design templates give you a flat look at the packaging. These templates show you the unfolded shape of the box, with fold lines, cutting points, and flaps.
Draw your box template on the back side of your Kraft paper using a pencil and a ruler. Use a butter knife to lightly score the fold lines. Make sure you don’t cut through the paper. You want to crease the paper so folding becomes easier.
Note: For larger and heavier products, you will need to switch to harder cardstock or corrugated boxes.
Step 5 – Cut, Fold, and Assemble the Structure
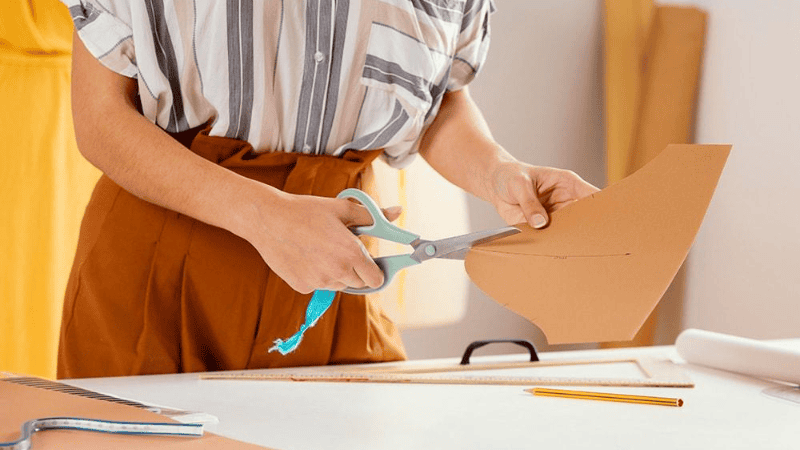
Now, cut the Kraft paper according to the template. Ensure nice, clean edges, and remember to “always cut away from yourself.”
Now, carefully fold your template along the scored lines using the help of a ruler. Apply a small amount of glue or double-sided tape to the side flaps. Glue is generally the better option, but it can be messy.
Some unique box designs don’t require any type of adhesive for assembly. Instead, they use carefully positioned cuts in the template to create interlocking flaps.
Once you get a bit of practice, you can cut multiple templates at once. For smaller boxes, you can use automated cutting machines from companies like Cricut, Glowforge, xTool, etc.
Step 6 – Test and Adjust
Always do an initial test of the packaging before moving to mass production. A good packaging design should clear the following five tests.
- Fit Test – If the packaging is too small, the product won’t fit, and if it’s too large, the item will rattle around the inside. Adjust your dimensions based on the results of the test.
- Safety Test – Roughly handle your packaging, throw it inside a bag, flip it to the sides, and place it on the table with little force. These steps simulate the various environmental conditions during shipping. If something breaks or leaks, you will know the packaging doesn’t offer adequate safety.
- Weight Test – Your packaging should be strong enough to withstand the weight of the products and be stackable. A package is considered stackable if you place two or three boxes on top of one another, and the bottom one doesn’t get squished.
- Seal Test – Your custom packaging should remain closed from all sides. If any side accidentally pops open, you will need to add more glue or tape to the adjacent corners.
- User Friendliness – Finally, give your packaging design an objective look. The end user should be able to easily open the packaging without damaging the product.
DIY Packaging Ideas for Different Types of Products
Let’s combine all of the information from the above sections into practical DIY packaging ideas.
Jewelry or Accessories Packaging
For small items like earrings, necklaces, rings, and bracelets, you can use simple, lightweight packaging.
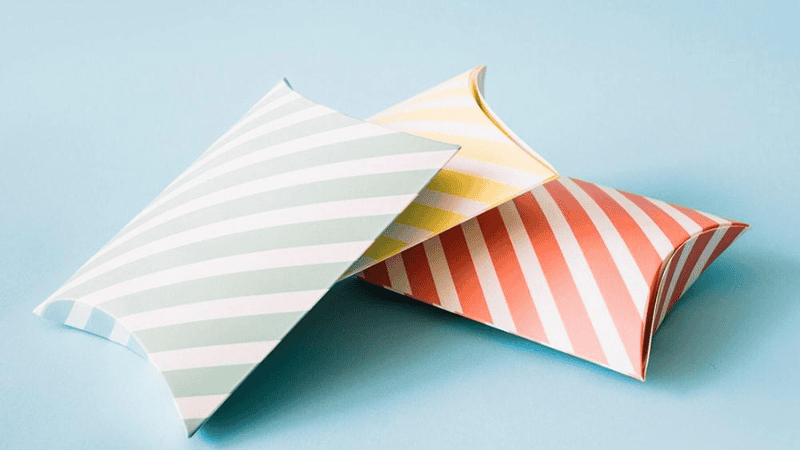
- Pillow Boxes for Rigid Packaging
- Fabric Pouches for a Luxury Element
- Origami Wraps for Simplicity
Candles or Skincare
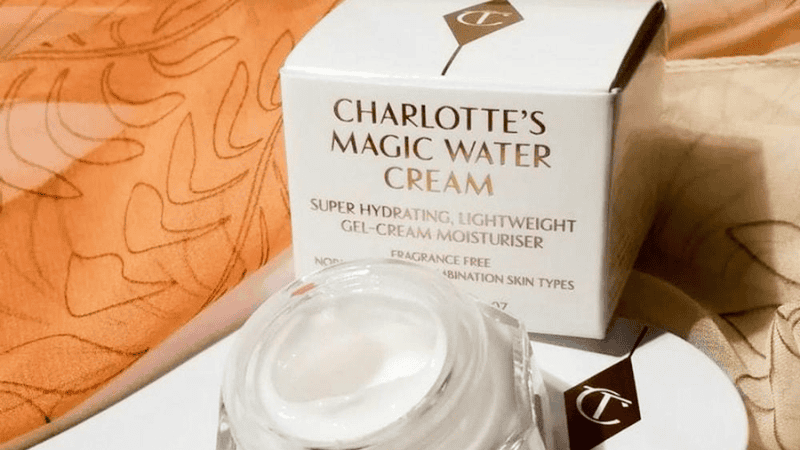
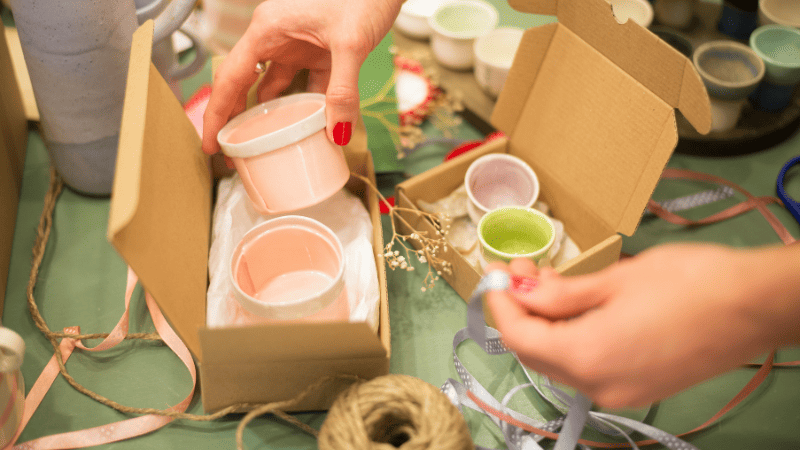
Scented candles and skincare products require two-tier packaging. The primary packaging will be a glass jar or similar container with an air-tight lid. You can paste custom stickers on the jars that provide product details and boost your brand identity.
Next, you need a secondary packaging solution that provides shatter protection to the glass jars and blocks out the sunlight. Many skin care products degrade under the sun’s UV radiation.
Baked Goods or Food Items
Most food items require simple packaging that prevents outside contamination.
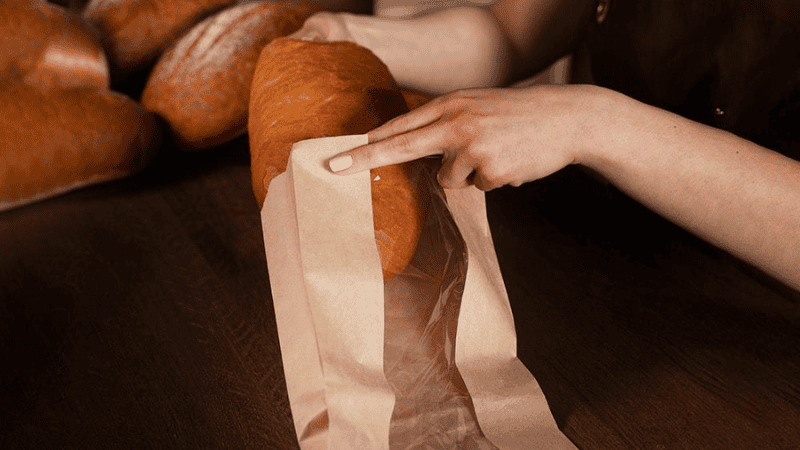
- Plastic bags are ideal for dry foods like cookies, potato chips, and raw pasta.
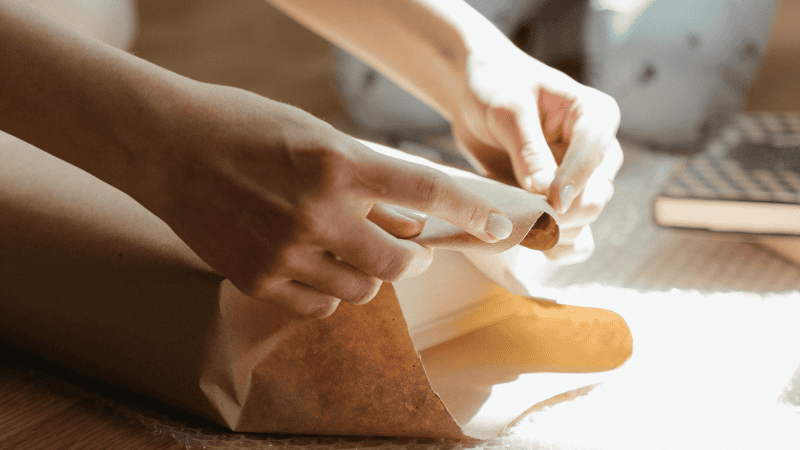
- Food-safe wraps like wax paper or plastic wrap are ideal for fresh-baked goods like bread.
- Plastic or glass bottles are a necessity for liquids like sauces.
Clothing & Artwork
Packaging for clothing items couldn’t be simpler. Use a transparent plastic bag for the clothes with your brand’s logo and other custom stickers pasted on top. When shipping your products, place the packed clothes inside a flat mailer bag.
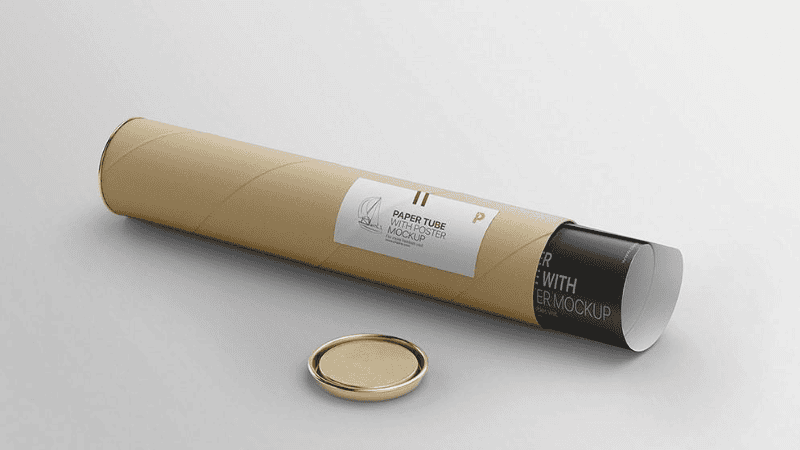
Posters, digital prints, artworks, and other flat products can be rolled up and placed inside a cardboard tube. These tubes are fairly sturdy and ensure your posters stay safe during long transits.
The Cost of Creating Custom Packaging
Packaging products can be shockingly expensive. It all comes down to economies of scale. When you buy materials in bulk, it’s a lot cheaper. You can also invest in custom dies and tools that will eventually pay for themselves in the long run.
Here are four major factors to consider when budgeting your DIY packaging.
1. Cost of Materials
Materials are the most expensive part of any packaging. Thicker paperboard and cardboard offer more protection but cost significantly more. Additionally, if you opt for eco-friendly materials, expect to pay a premium.
2. Cost of Tools
Tools have an initial investment cost and, later on, a regular maintenance cost. You can save on maintenance costs by investing in higher-quality professional tools. But that means a higher upfront cost.
3. Design and Printing Costs
A professional packaging designer generally charges more than most small businesses can afford. Even if you manage to pay for a professional design, you will run into print issues.
The price of custom-printed DIY packaging scales with volume. The more boxes you get printed, the lower the price per box.
4. Labor Time
Remember, DIY packaging will save you some money in the short run. However, you are making up for that financial savings with your time. All the time you spend customizing and packaging products is time that could be better spent on other tasks.
4. Bulk-Buying vs. Upcycling
Upcycling refers to the process of reusing old materials and elevating them, such as using thrift store clothes to make fabric pouches for your products. It is considerably cheaper than buying new materials.
Alternatively, you can buy materials in bulk for a lower price per unit. Upcycling is one of the most sustainable options for packaging, but it also requires more time and effort.
5. Compare DIY with Outsourcing
DIY packaging is a great idea for small businesses that are just getting started. You can save money by designing, cutting, and folding custom boxes by yourself. Outsourcing is a better option when you want more complex custom packaging.
Simple packaging, like paper bags, is best suited for DIY. However, outsourcing is more economical for custom boxes with full digital prints.
Scaling Up: When DIY Packaging Is No Longer Practical
It’s important to recognize the turning point where the cost savings from DIY packaging are not worth the time commitment.
Here are some indicators that you need to switch to a custom packaging business for your products.
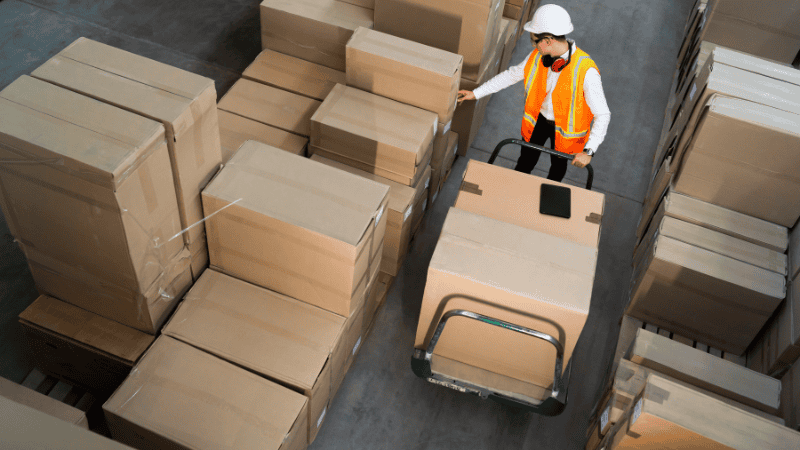
1. Increased Shipments
DIY packaging is good up to a certain point. When you’re selling a few items per day, it’s fairly practical. However, as your business starts to grow and instead of shipping single items, you are shipping boxes full of products, DIY just doesn’t cut it.
2. Time Management
Your time is more important than you think. When you deal with small quantities, a few extra minutes of packaging products doesn’t sound bad. But as your business grows and you sell more products, those few minutes add up to several hours.
Hours that you could be spending on refining and improving your products.
3. Cost vs Convenience
The price difference between custom packaging and DIY packaging is relatively small. For small businesses, packaging products is another cost element that is difficult to budget. But as soon as your business starts making real profit, it’s time to look for a more convenient option.
Custom packaging businesses have incredibly competitive prices. The reason behind these low prices is that packaging companies make thousands of custom boxes each day for hundreds of customers.
4. Professional Touch
As your business grows, customer satisfaction becomes an important factor. Most customers expect polished packaging with a sleek, visually appealing design. High-quality packaging leaves a memorable impression on customers, leading to increased brand loyalty.
Many packaging companies also offer free design services, which can be a big help for an upcoming business.
FAQs
Q1: Can I use Regular Paper to Make Boxes?
Yes, regular brown paper bags are suitable for lightweight products, but you will need more durable materials for heavier items.
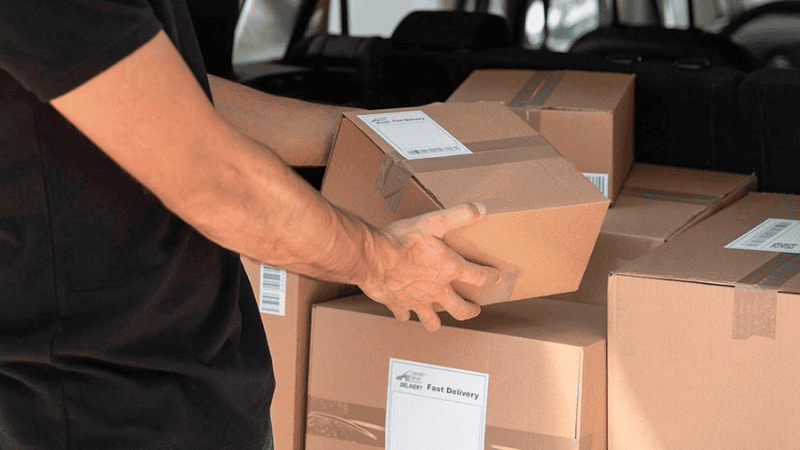
Q2: Will DIY Packaging Hold Up During Shipping?
As long as you use thick cardboard boxes, your products will arrive safely at the destination.
Q3: How Do I Make Eco-Friendly Packaging at Home?
Use recycled paper for your sustainable packaging and avoid plastic whenever possible.
Q4: Are There Design Tools for Creating Packaging at Home?
Yes, there are several online design services that are free to use, such as Canva.
Q5: Is DIY Packaging Suitable for Food Products?
As long as you use food-safe materials and clean tools, DIY packaging will be perfectly fine for food items.
Conclusion
Small businesses deal in small quantities, making professional custom packaging impractical. However, with some arts and crafts materials, some basic stationery, and elbow grease, you can create custom packaging at home. Whether you’re shipping products domestically or internationally, you need reliable packaging.
DIY packaging will save you a few bucks, but it requires considerably more effort. Businesses should switch to a professional packaging company as soon as they achieve financial stability.
Get Highly Quality Custom Packaging from Packoi!
Packoi is a leading provider of custom packaging and printed products. We specialize in fully customizable cardboard boxes, retail bags, and marketing print materials.
Don’t have a fixed design in mind, no problem. Take advantage of our custom design services and bring your ideal packaging to life. Packoi also offers industry-competitive pricing and flexible MOQs for small businesses.
So, get started on your professionally designed packaging. Contact us now!