Packaging design is a difficult process. It requires a broad set of skills to execute properly. Many may not have a powerful computer, experience with design software, or the finances to hire a designer.
Canva is a free design tool that aims to simplify packaging design and reduce the barrier to entry. You can design everything from a logo to social media posts using Canva.
Here is an in-depth guide to Canva and how you can use it to design product packaging.
What is Canva?
Canva is an online tool for graphic design that allows you to create custom designs without any prior design knowledge. It works on a simple drag-and-drop structure, where you can choose from a collection of pre-designed graphics, pictures, and text designs.
Canva has millions of design elements and hundreds of templates that can be mixed and matched to create a completely unique design.
The following are a few popular applications of Canva:
- Packaging Design
- Logo Design
- Custom Artwork
- Social Media Posts
- Product Packaging Mockups.
Canva is a free-to-use service that offers basic customization and limited access to design elements. For more advanced design features and complete access to all canvas illustrations, you will need to purchase a subscription to Canva Pro.
3 Important Things to Consider When Using Canva
Before you start designing your own packaging in Canva, you need to consider a few important factors. If you have a vague understanding of the packaging design process and other illustration software, you may skip this step.
1. Canva Has Simplified Design Tools
Unlike its competitors, Adobe Illustrator and Adobe Photoshop, Canva offers very basic design tools. For example, you can add text to Canva designs and choose from a wide selection of fonts. But you cannot modify the fonts or create your unique ones.
The same can be said for Canvas image editing capabilities.
Beyond that, Canva lacks the ability to create true 3D packaging renderings, structural designs like die-cut lines or fold lines, or simulate materials and finishes such as spot UV, foil stamping, or embossing. All of these are critical for professional packaging production.
Therefore, you can start with basic designs in Canva, then choose a reliable packaging supplier and share your requirements with them to create more realistic mockups for you.
2. Paid vs. Free Features
Canva Free is a completely capable tool to help you create basic designs. You can manage the color scheme, font design, and position of a given design element. Then, add elements to your canvas and save them as a printable image or PDF.
However, many premium design elements, fonts, and templates are locked behind a Canva Pro subscription. Canva does not allow you to save your designs as transparent images or let you download an SVG file that is compatible with Adobe Illustrator.
Additionally, Canva cannot prepare print-ready packaging files with proper bleeds, color separations (CMYK or Pantone), or crop marks. This often leads to printing errors or extra prepress costs due to overlooked details.
Therefore, before final printing, remember to confirm the necessary specifications with your packaging supplier.
3. Use Templates as a Guide
Canva’s approach to packaging design relies on modifying existing templates and graphics. You can create your own templates and graphics if you deem it necessary. But those graphics will have limited customization in Canva.
Another important aspect of Canva templates is their wide availability. A logo template chosen by you can also be used by other designers. To avoid unintentional plagiarism you must heavily modify your template.
Also, Canva struggles to scale across complex product lines. If your brand has multiple products with different box sizes, inserts, or packaging variations, Canva lacks the variable data tools and version control needed for efficient production.
Therefore, if you have a complex product line, consider using Canva for initial drafts, then work with a packaging supplier to manage your full range of requirements and file specifications.
How to Create Designs in Canva?
There are many packaging design templates in Canva. Now that you are familiar with the Canva platform, we can move on to designing a packaging mockup. This is a simple step-by-step guide to creating packaging design in Canva.
We will be using a mailer box as a basis for this packaging design guide.
Step 1 – Box Size

Determine the appropriate dimensions of your boxes. Your package dimensions will determine the size and aspect ratio of your design. A tall box will have a different packaging design than a wide box.
If you’re designing a folding carton, the dimensions are typically based on the interior size (since it needs to hold the product). For rigid boxes, you’ll also need to account for wall thickness.
Step 2 – Open Box Schematic
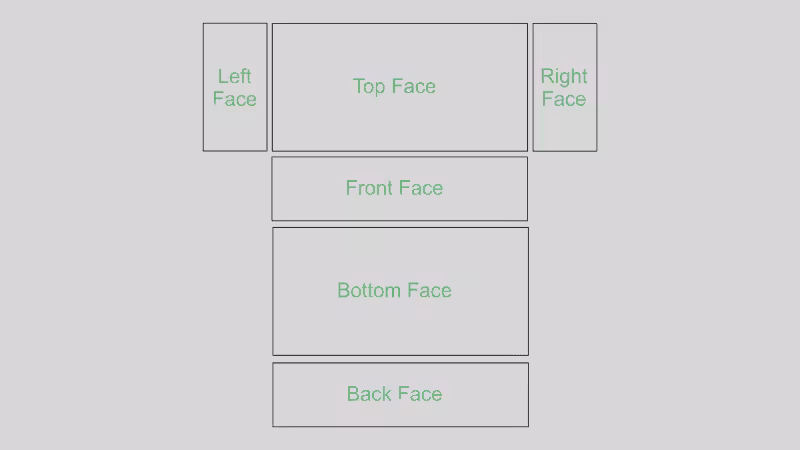
You can use simple shapes in Canva to design your packaging layout. Draw a schematic diagram of your open box design. A box-shaped package is printed as a flat design and folded into a 3D design. You can skip this step, but doing so will significantly increase the chances of errors.
You can draw schematics in other design software, like Illustrator or CorelDraw. But drawing it on a piece of paper can be equally helpful. This step will act as an anchor to manage all your different designs.
Step 3 – Registering for Canva
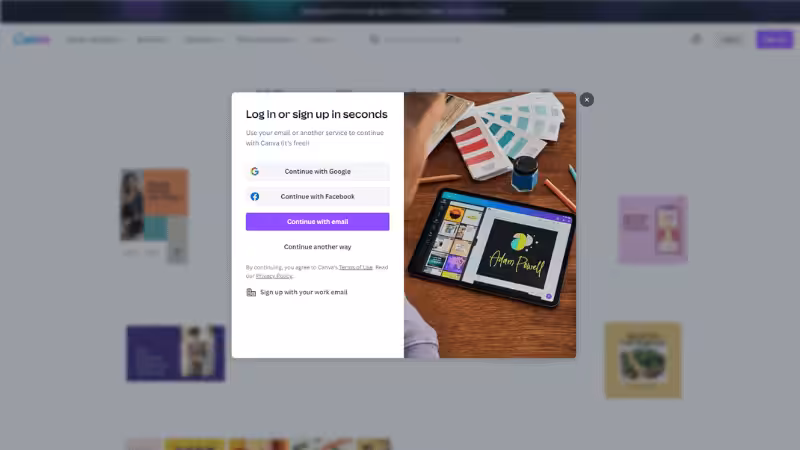
First, you will need to register a Canva account using your email. The account is free to create and does not require any credit card information.
At this point, you may choose to start a 30-day free trial for Canva Pro. Just make sure to unsubscribe before the 30th day if you don’t need the additional features.
Step 4 – Star a New Design
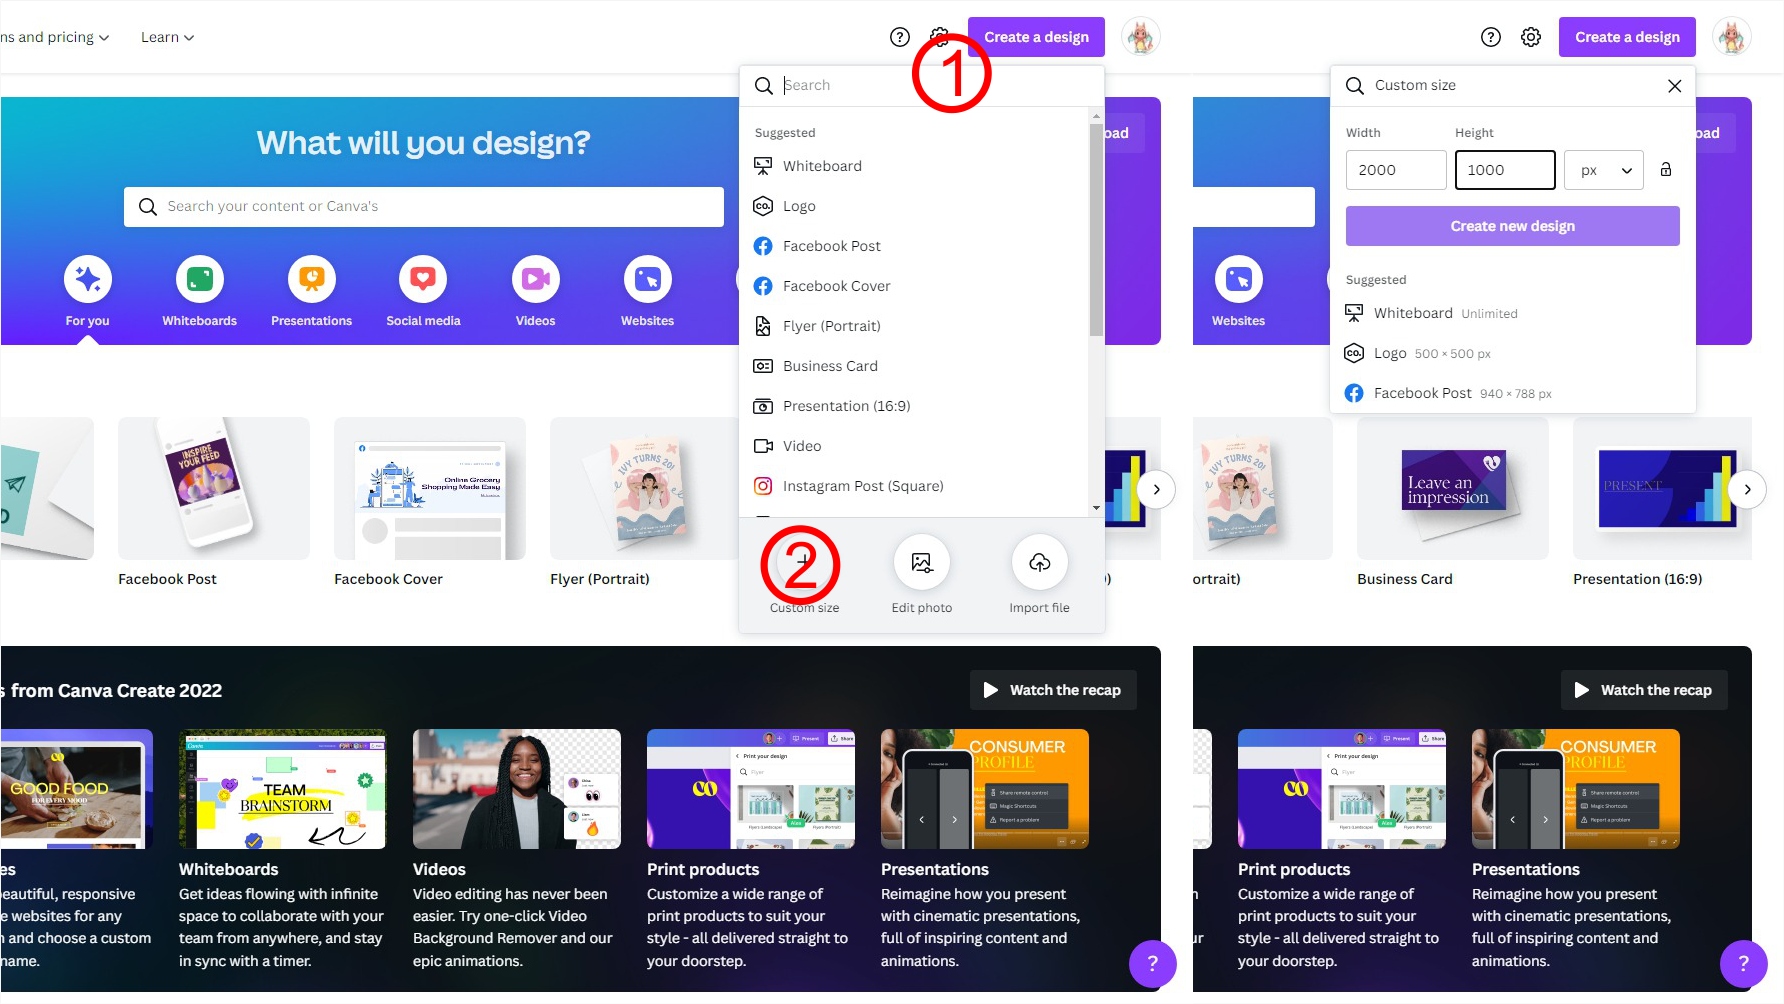
Start by going to the top right corner and clicking the “Create a Design” button. This will prompt a drop-down menu with a list of predefined design options. Go to the very bottom, choose “Custom Size,” and enter the custom dimensions of your packaging design.
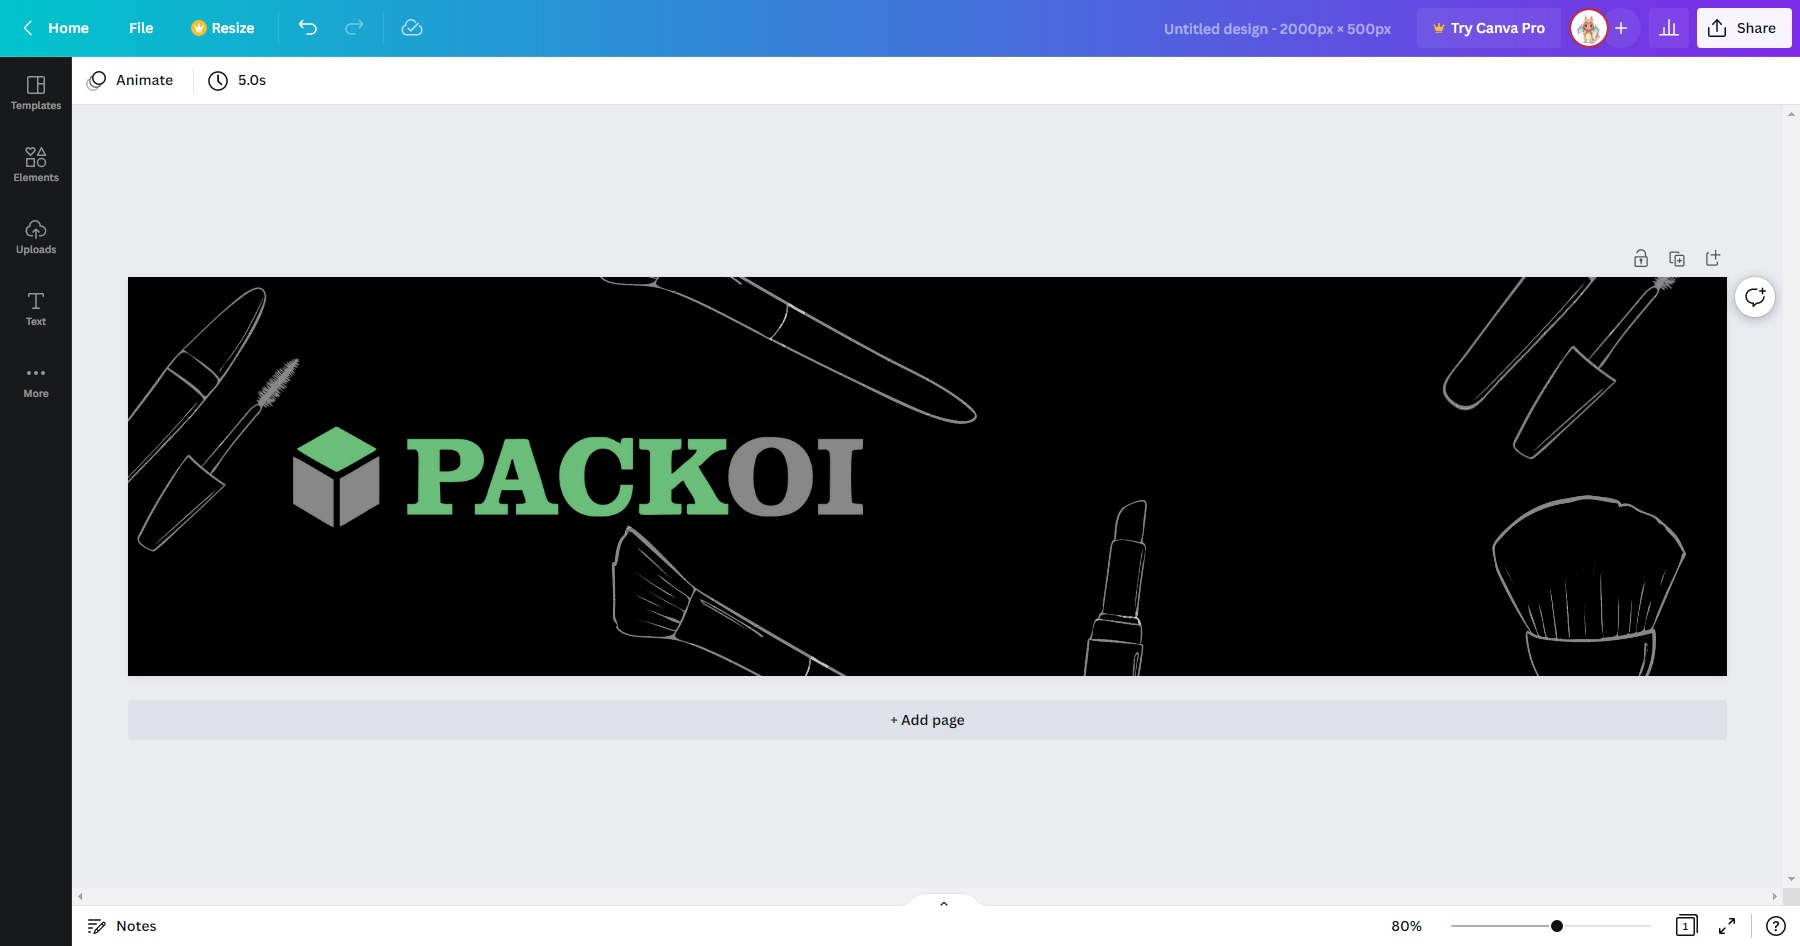
For the top face of our mailer box, we select the dimensions [2000 x 1000]. You can zoom in and out of your workspace using the slider at the bottom.
Quick tip: When entering custom dimensions in Canva, use pixels as your unit. For print-ready packaging, a resolution of 300 DPI is recommended. This ensures your design won’t appear blurry or distorted when printed.
Step 5 – Select a Template
Once you have your workspace (blank canvas) dimensions set, you can pick an appropriate design template. In the top left corner, you will see tabs for templates, elements, and text. Click the “Template Tab” and choose one that best aligns with your brand guidelines.
You can also use the search bar to find specific packaging design template options. Note that a small crown in the bottom right of the template means it’s a Pro feature.
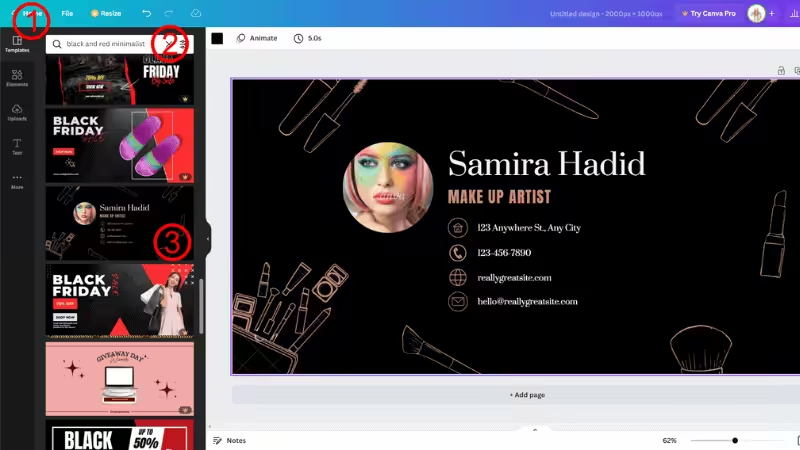
Step 6 – Template Selection Guide
For our mailer box, we picked a simple black and red minimalist design. For full-box designs, it’s best to pick a template with a simple background color that can be easily duplicated on the other faces.
This template uses simple shapes that can be easily recolored and moved around on the canvas.
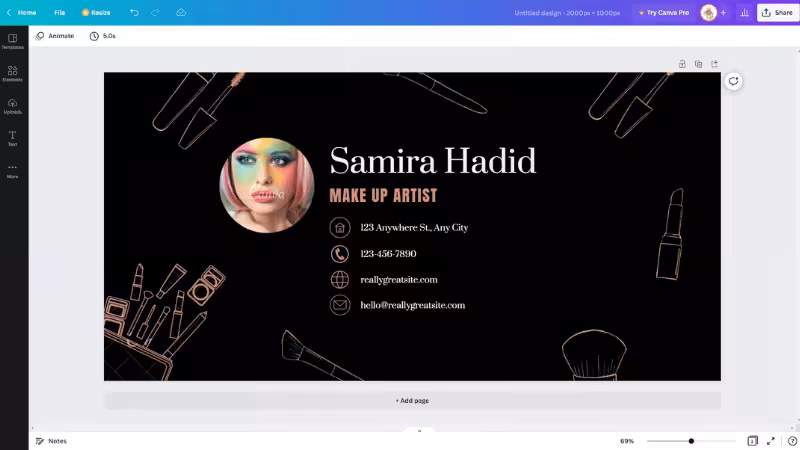
Step 7 – Delete Unwanted Design Elements
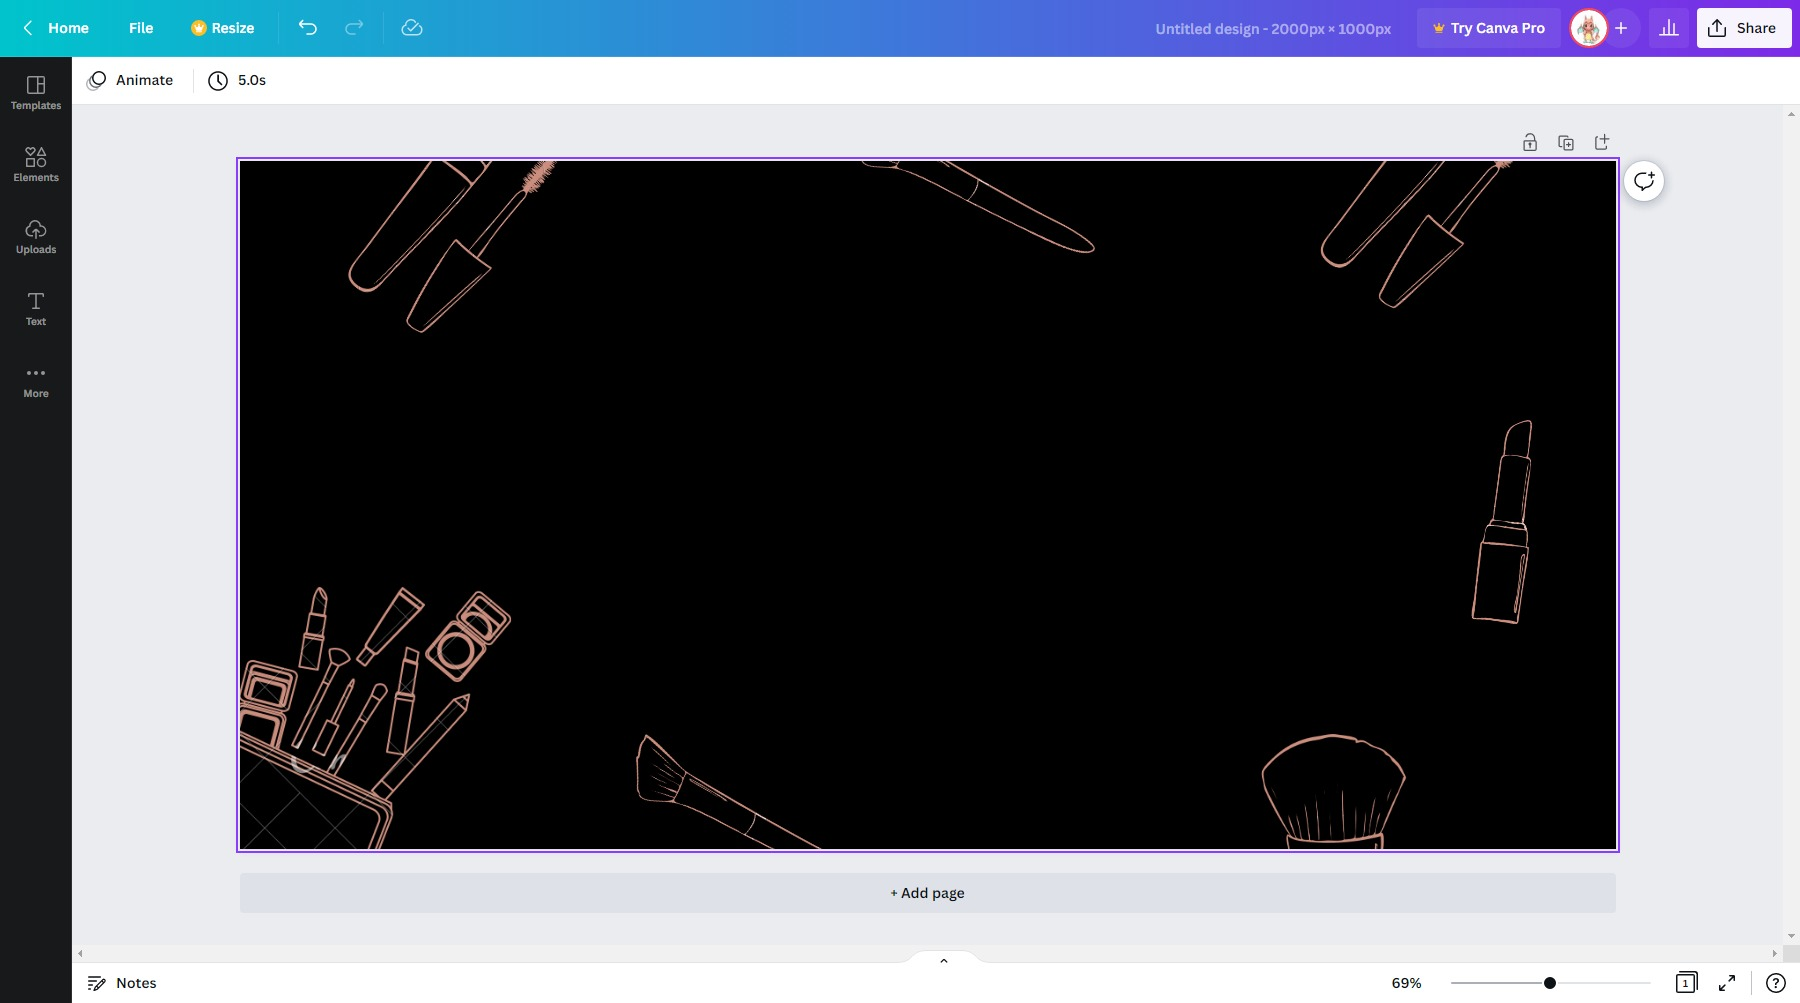
Now, you can remove any design elements that are irrelevant to your product. For this template, all the contact information and pictures can be deleted. Click the elements you wish to remove and press the “delete key” on your keyboard.
You can also click on the small trash bin icon that hovers over a selected element.
Some elements might come with a watermark that can only be removed with a Canva Pro subscription. Alternatively, you may delete that element altogether and replace it with something else.
Step 8 – Import Your Branding to Canva
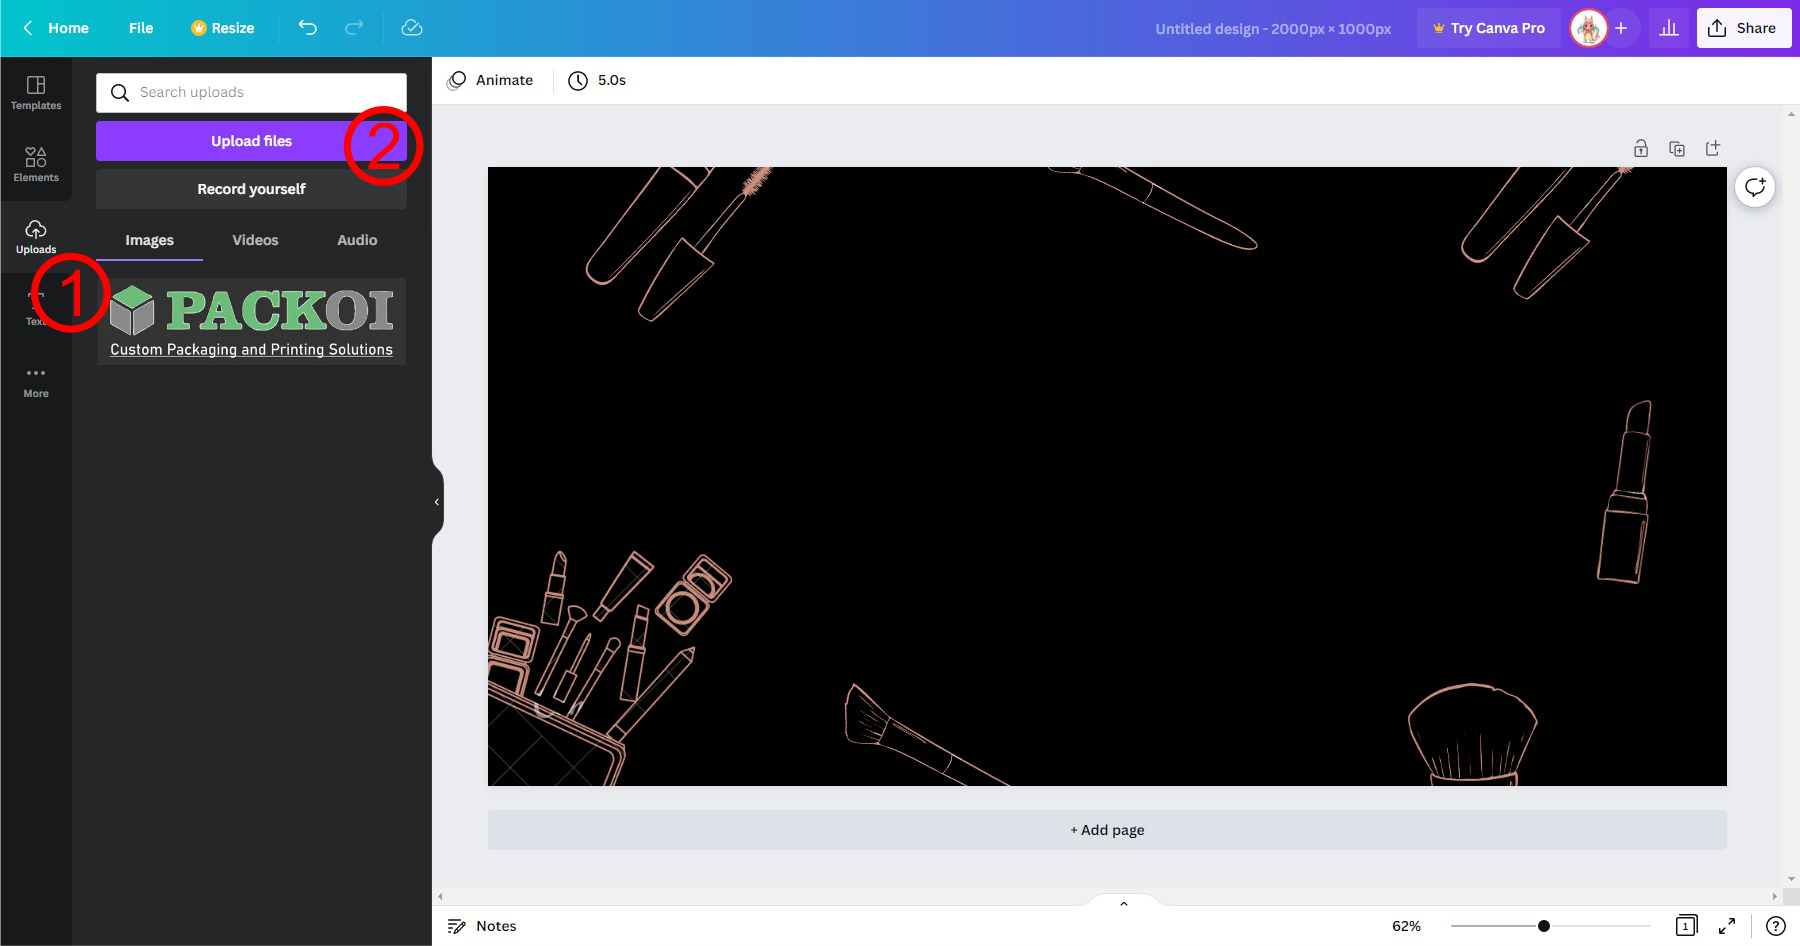
Now, you can add your product branding and logo to your Canva design. Click the “Upload” tab in the top right corner. Select “Upload Files” and select your logo file with the correct format. Choosing the wrong format will result in an “Upload Error“.
For brand logos, we recommend using SVG files, but you can also use PNG.
You can also drag and drop your logo file directly into the Canva workspace.
Step 9 – Resizing, Orientation, & Positioning
Once you have your brand logo imported to Canva, adjust the size and position to your liking. The size can be manipulated using the circular corner points of a design element. Resizing using edge points (pill shape) will distort your image and change the aspect ratio.
Underneath the design element, you will see a rotation symbol. Use this to rotate your images accordingly. To reposition your brand logo, you can click and hold the center of the element and drag it around.
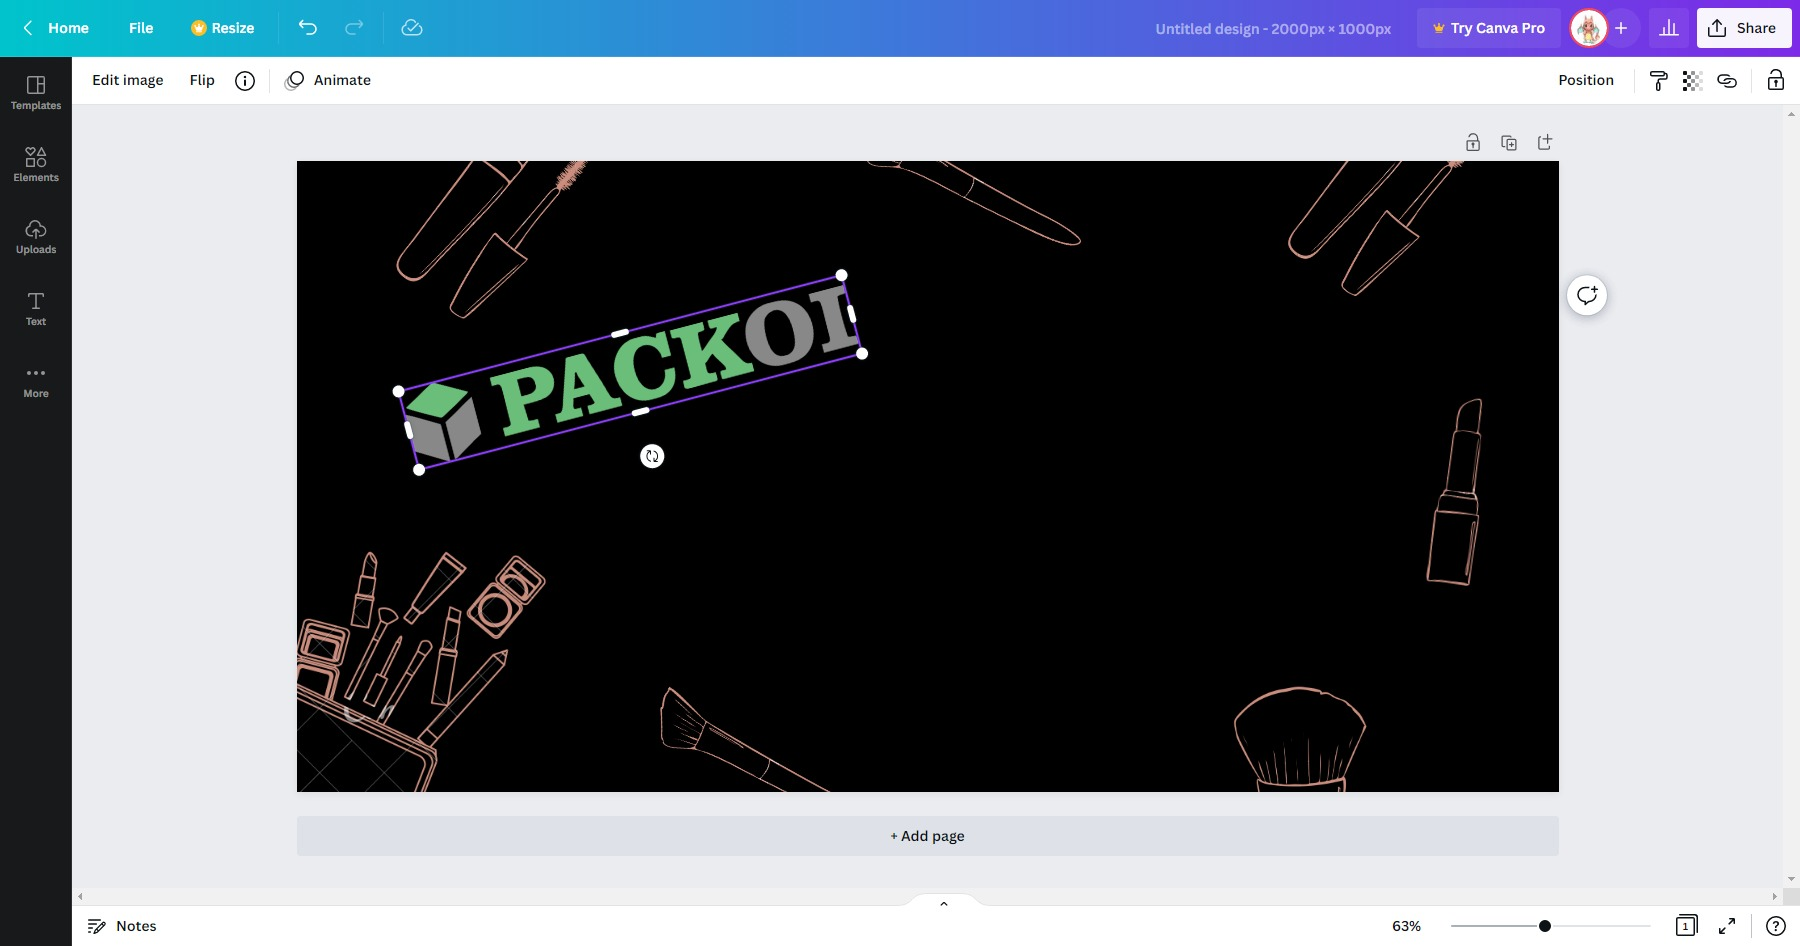
Step 10 – Add Text
Add text to your design by selecting the “Text” tab in the upper right corner and clicking the “Add a text box” button. You can also select one of the many font designs listed below.
If you choose a pre-designed text element, you can edit it by double-clicking the element. You can adjust the font type, size, and other properties from the menu bar at the top.
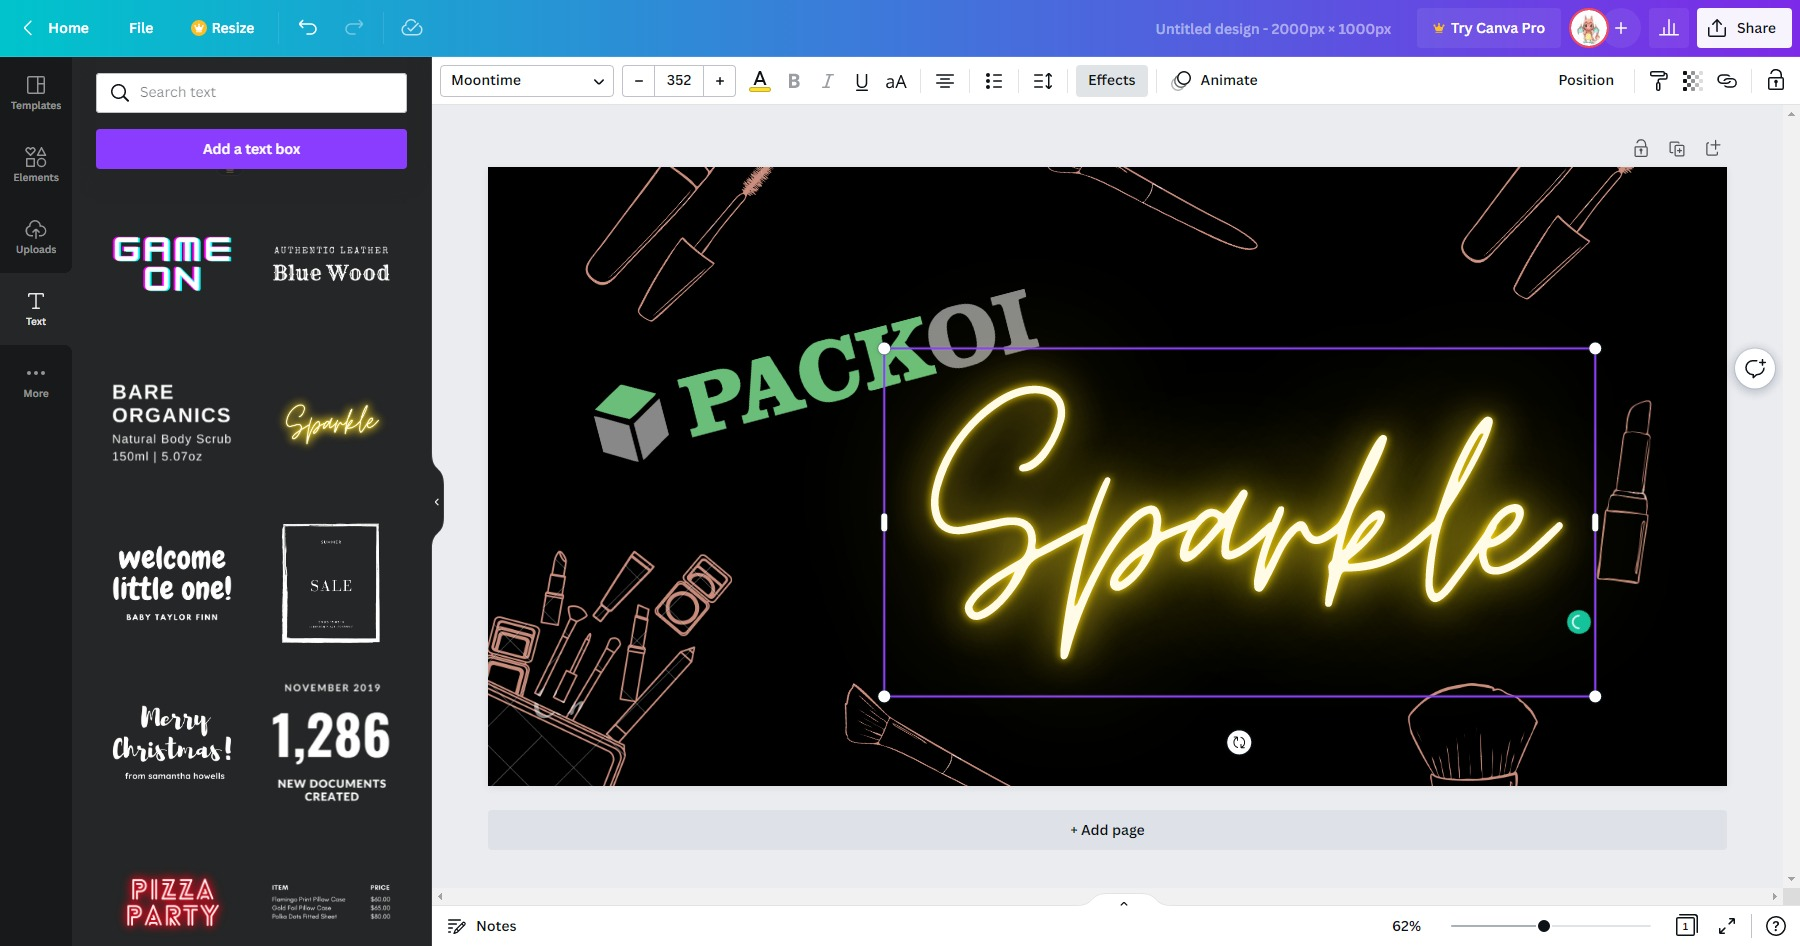
Step 11 – Text Coloring
To change the color of your text, go to the top menu bar and click the “A” symbol. It will prompt a new window to the left with a selection of colors. You can choose from a set of default colors or click the “Rainbow Plus” icon to add your own color.
To add custom colors, click the “Color-Picker” icon and hover your mouse over the brand logo.
You can change additional text settings by clicking the “Effects” button on the right side of the menu bar. This will give you options to curve your text, change the design parameters, and choose a different highlight color.
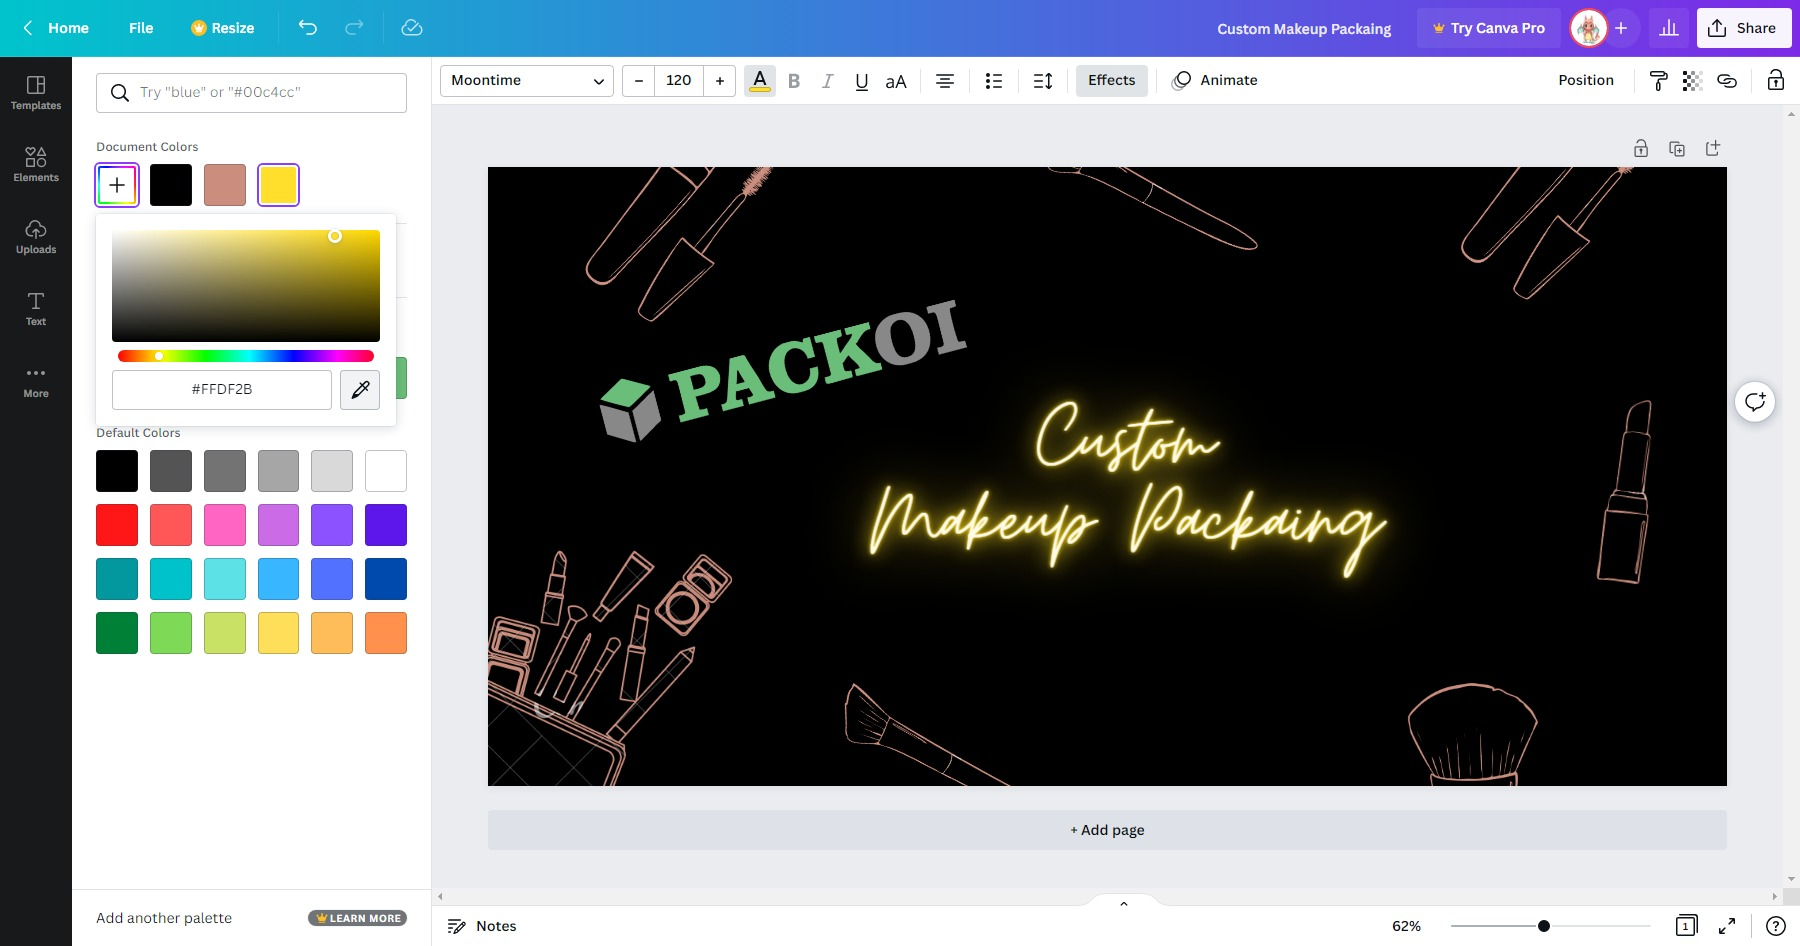
Step 12 – Color Matching
Once you have a rough outline for your product packaging design, you can move on to color matching. Here, we have Packoi’s green and gray logo that we want to seamlessly blend into your design.
Select appropriate colors for your background and foreground elements. Add bright colors to complement your brand’s logo. Creating an innovative design requires you to think outside the box.
Let your imagination run wild, and try a few color combination ideas.
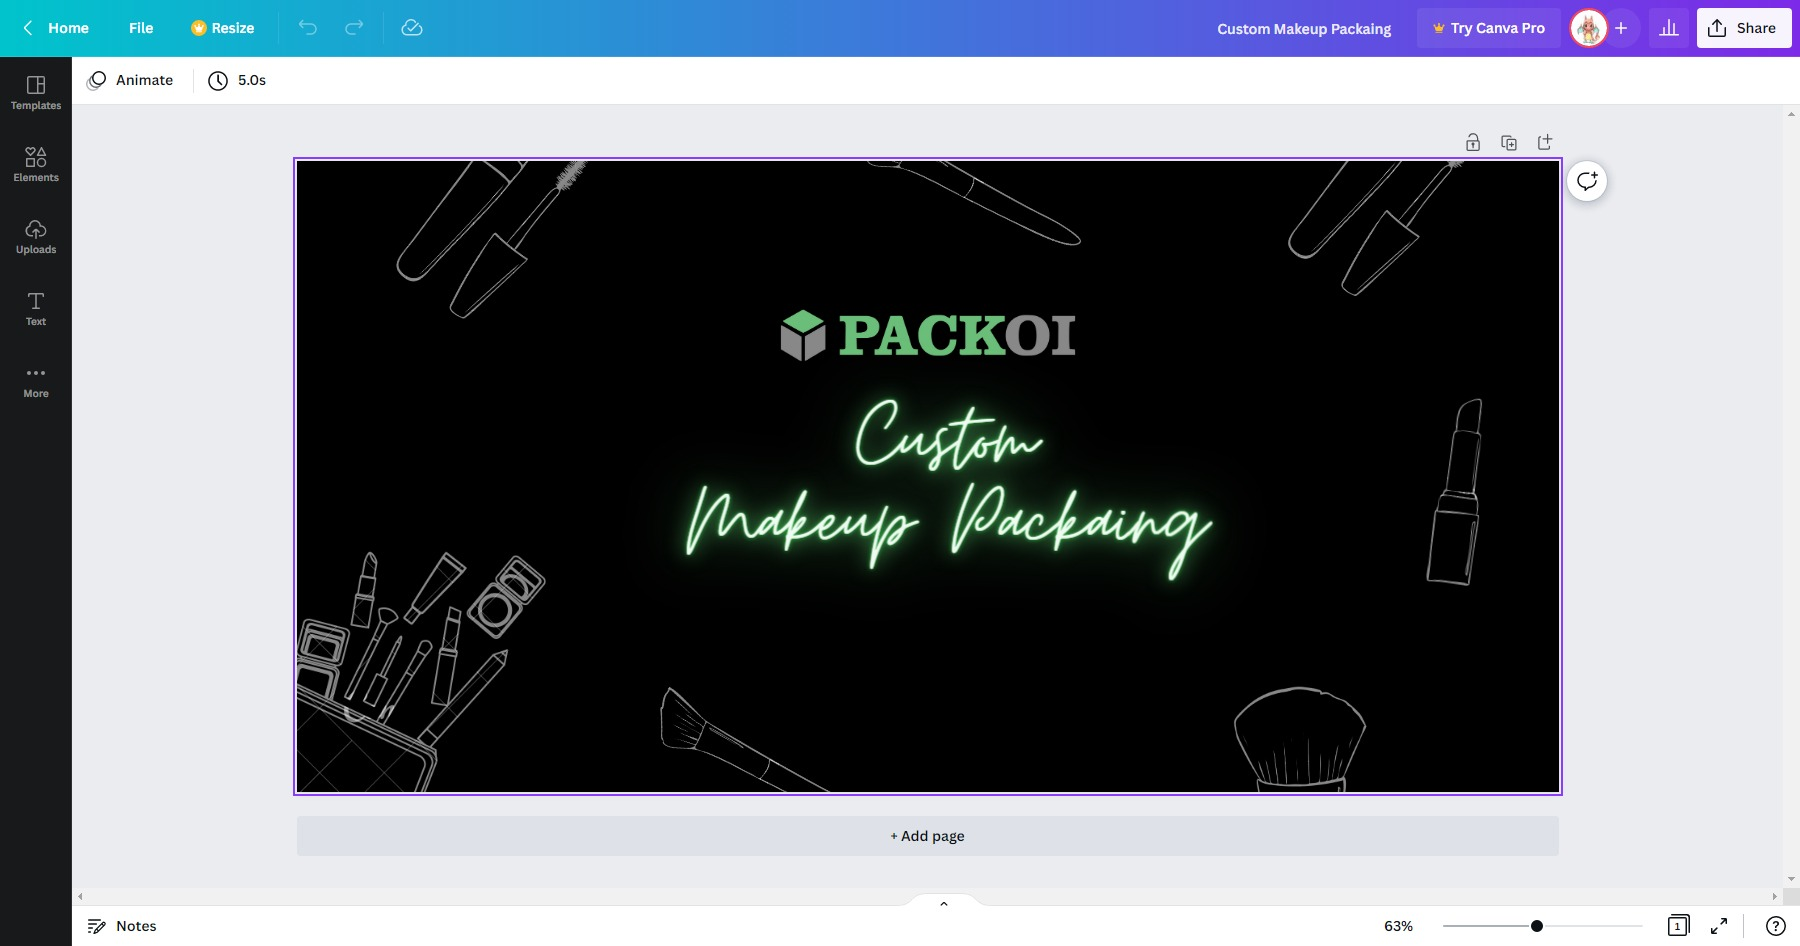
Step 13 – Design the Other Sides
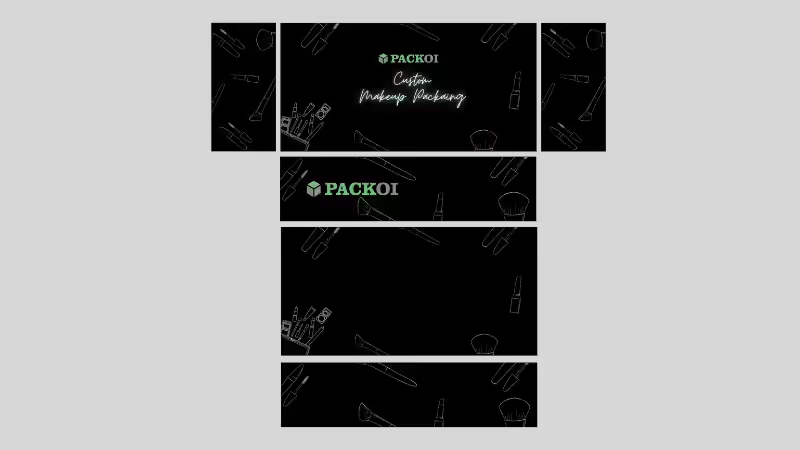
Follow steps 3-12 for the front, back, left, and right faces of the mailer box. You should use the same template for the other faces but modify it to better serve your product packaging design.
You can add more logos, catching taglines, or images to the other faces. Some countries require you to put safety labels and brand trademarks on the product packaging. As a designer, you need to take local regulations into consideration as well.
Step 14 – Combine the Design
Save and download all the design images using the “File” menu in the very top right corner. At this point, you can superimpose your designs onto your schematic diagram. This will give you a better idea of the printed product packaging. But before that, don’t forget to change the color mode to CMYK.
You can skip this step if you lack schematic drawing expertise or you only want a simple packaging design with just one face.
For example, you can ask the manufacturer to print a black-colored box with your single Canva-designed image on the top.
But if you’re designing luxury packaging or complex structure boxes, it’s highly recommended to complete this step, or simply send your Canva file directly to a packaging supplier and let them handle structural confirmation and mockup rendering.
Step 15- Consult the Printing Press
Most printers and packaging manufacturers have a designer on staff. They will approve your product’s packaging as print-worthy. The company designers will point out minor issues that can arise during the printing process.
For example, a slightly off image will end up getting cut off, low-res shapes will look blurry in print, or some colors might be difficult to print on boxes.
FAQs
Q1:Is Canva good for product packaging design?
Canva is an excellent tool for basic and aesthetically pleasing product packaging designs, especially for small businesses or those with limited budgets. Its user-friendly interface and vast template library make it easy to create impactful visuals. However, for complex structural designs or highly specialized printing requirements, professional design software might be more suitable.
Q2:What are the best dimensions for packaging design in Canva?
Canva is an excellent tool for basic and aesthetically pleasing product packaging designs, especially for small businesses or those with limited budgets. Its user-friendly interface and vast template library make it easy to create impactful visuals. However, for complex structural designs or highly specialized printing requirements, professional design software might be more suitable.
Q3:How do I prepare a Canva packaging design for professional printing?
To prepare your Canva design for professional printing, download it as a “Print PDF” with “crop marks and bleed.” This format ensures high resolution and includes the necessary guides for your printer. Also, double-check that all text is legible, images are high quality, and colors are consistent with your brand guidelines.
Q4:Can Packoi help me with my Canva packaging design file for printing?
Yes, absolutely! While Canva simplifies the design process, preparing files for professional printing can still be tricky. Packoi’s experts can review your Canva-generated design files, check for common issues like resolution or color accuracy, and ensure they meet our print specifications for a flawless final product.
Conclusion
Canva is an excellent tool for beginners looking to design product packaging without prior experience or expensive software. Its drag-and-drop interface, customizable templates, and free features make it accessible to anyone.
While Canva has some limitations compared to professional design software, it is a great starting point for small businesses and entrepreneurs. By following this step-by-step guide, you can create a polished and visually appealing packaging design with ease.
Choose Packoi to Bring Your Custom Designs to Life
Packoi is a packaging and printing solutions provider operating out of Guangzhou, China. We offer quick turnaround times and low MOQs on all our packaging products. Our fully customizable boxes and bags are second to none.
Packoi also offers design services, our skilled graphic designers can help bring your design ideas to life. Don’t miss out on our excellent services, and Contact us Now!