Last Updated on December 12, 2022 by Packoi Team
Do you want to create a unique, custom-made soap box that suits your product’s beauty and looks sleek? The possibilities of designing and crafting just the perfect soap box are endless– anything’s possible, from its shape and size to the materials it is made from. In this guide, we will walk you through all the steps necessary for creating your very own custom-crafted product box.
All it takes is creativity to bring out that innate gasp of delight as soon as anyone sees it! We want this process to be easy and fun so that you can achieve your ideal design goals at every step along the way. So get ready because let’s embark on this creative journey together.
What is a Soap Box?
A soap box is a cardboard or paperboard container holding one or more soap bars. It’s an important part of packaging for soaps since it protects the product from dirt and moisture and helps make it attractive and easy to display on store shelves. The design and size of custom boxes depend on the type of soap. We see different types of boxes for bath soaps, laundry soaps, dishwashing soaps, and other uses, so sticking to a specific design for your products can make them stand out.
Here are some common types of soap boxes used for packaging:
Die-Cut Window Boxes
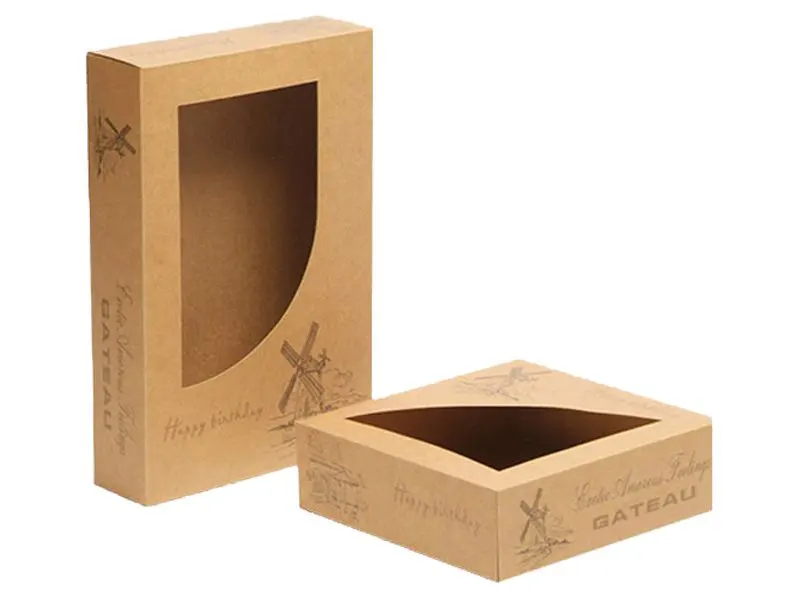
Window boxes are an eye-catching way to display your soap without having customers open the package. The front panel contains an open window cut in the shape of your product—perfect for showcasing your visually appealing soaps! You can also customize the exterior with vibrant colors, patterns, and logos to make it stand out on store shelves. Die-cut window boxes are perfect for stores looking to add a pop of color while allowing customers to peek inside the package before purchasing.
Folding Cartons
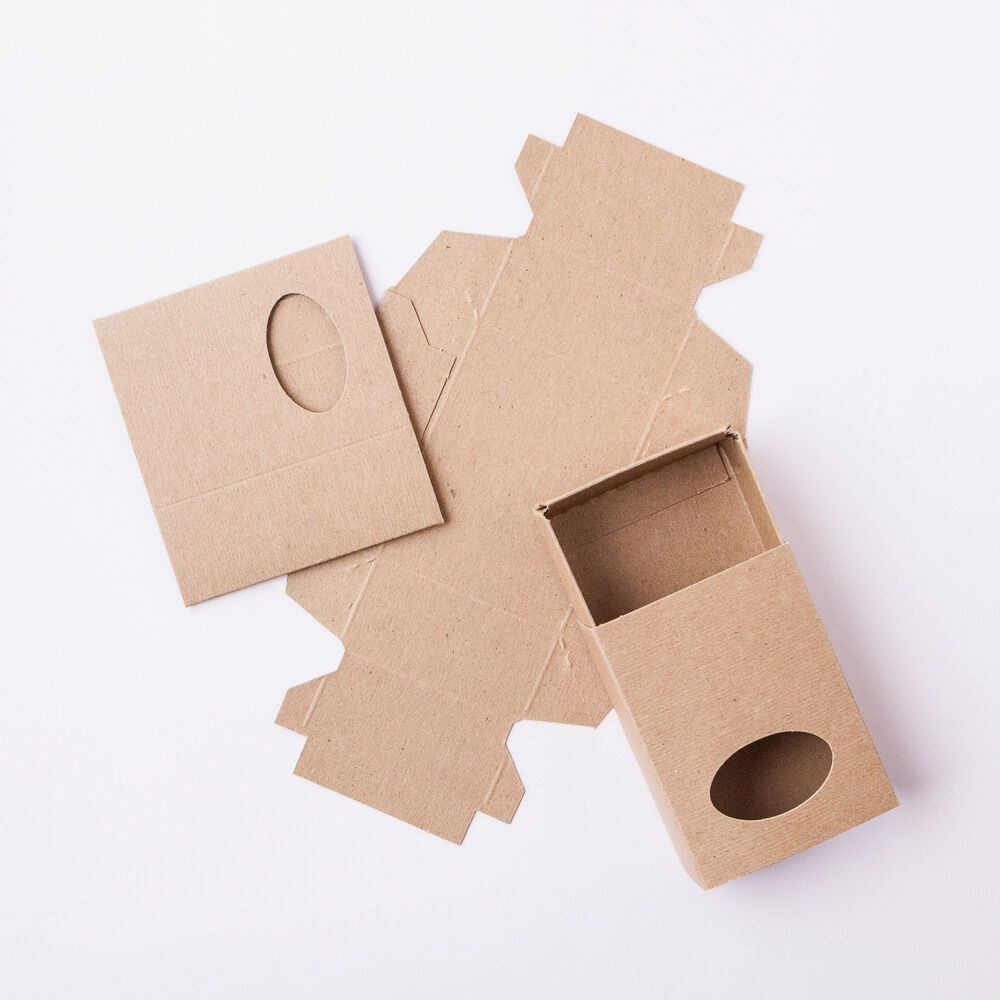
Folding cartons offer versatility and convenience when storing a range of shapes and sizes. These custom soap boxes are usually made from thick cardboard since they need structural integrity to hold their shape when folded. Folding cartons are available in various styles and colors that you can customize with logos or text for branding purposes. They come flat-packed but fold up easily around your product for quick assembly that requires minimal effort.
Tuck Top Boxes
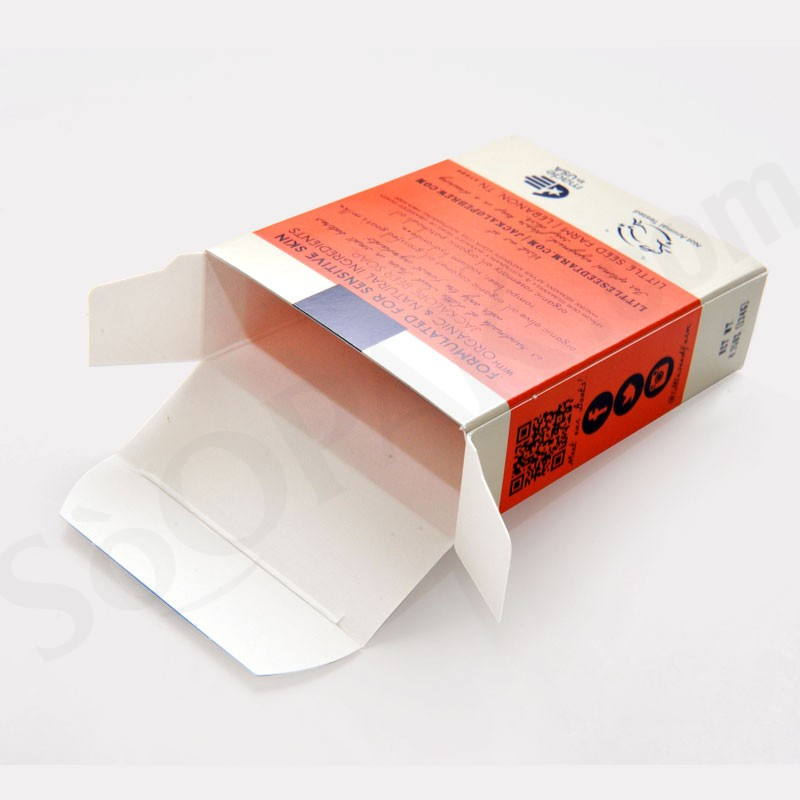
Tuck top boxes look attractive yet remain secure during shipping and handling. The lid tucks neatly into slots at either end, giving them their name; this feature also protects against dust or dirt getting into the box during storage or transportation. Luxury brands often use them because their sleek design gives off an upscale impression that will impress potential customers!
How to Design the Exterior of Your Soap Box?
Designing the exterior of your soap box is an important part of creating a successful product, and you must choose the right materials and colors to create a visually appealing product. Here’s a quick step-by-step guide you can follow to ensure your soap box is functional yet beautiful:
Choosing The Materials
Cardboard boxes are a popular choice that many soap brands use due to their lightweight yet durable nature. You can also choose other materials, such as plastic or wood if you want something more durable or aesthetically pleasing. Remember that different materials may require different printing techniques or even special finishes like foil stamping or embossing.
Selecting Colors & Graphics
Once you’ve chosen the material for your soap box, it’s time to think about colors and graphics. Consider using bold colors that will stand out from other products on store shelves and graphics that will draw people’s attention and make them more likely to pick up your product. Additionally, try using complementary colors to draw people’s eyes toward certain areas of your packaging, such as logos or special offers. If possible, use images or illustrations related to your product to give customers a better understanding of what they are buying before they open up your package.
Branding & Labeling
Your branding should be prominently displayed on both sides of your package for customers to easily identify who created the product inside. Additionally, make sure that any labeling requirements are met and displayed on both sides of your package – this includes ingredient lists, directions for use, and warnings about any potential hazards associated with using the product. Lastly, if space is available on either side of your package, consider adding additional information, such as nutritional facts or customer reviews, to further engage customers with your product before they even purchase it.
How to Design the Interior of Your Soap Box
When you’re packaging soap, you want to make sure that your design looks as good on the inside of your box as it does on the outside. Let’s look at creating an effective internal design for your soap boxes.
Consider Your Product Placement
When designing the inside of your box, think about where your product will go and plan accordingly. Generally speaking, it should be placed towards one side so that customers can quickly get access to their purchase once they open it up. You may also want to include additional compartments or dividers depending on what kind of product is being packaged within—this ensures everything stays organized and in place during transit or storage.
Choose a Color Scheme
Another important factor in designing your internal packaging is choosing a color scheme that compliments and highlights your product. You want to ensure that the colors chosen are bright and inviting so that customers are drawn in by their appeal. Consider using colors like white, light blue, and pink to convey a feeling of cleanliness, or black and red if you want something bold. If you’re unsure what colors to use, look at other soap boxes on the market for inspiration.
Include Branding Elements
Your branding logo and slogan should also be featured prominently on the interior of your box. This helps reinforce brand recognition with customers and ensures they know who manufactured their product when they open it up. Additionally, if you have any unique messaging or catchphrases associated with your brand, this can also be added for extra impact. Just remember not to overcrowd or overwhelm the design—you don’t want it to look cluttered or messy!
Guide for Painting and Decorating Your Soap Box
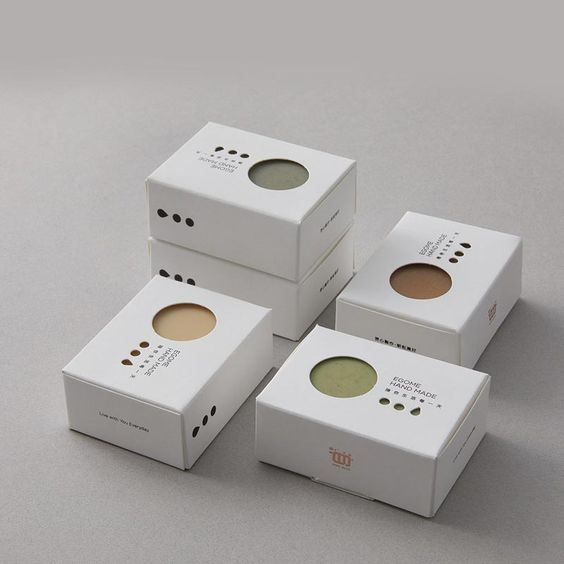
If you’ve ever wanted to make your soap box or gift box, we hear you. Here’s how you can make paint and decorate custom soap boxes:
Gather Your Materials
The first step in making your custom soap box is gathering all the materials you need. You’ll need a wooden soap box (or any other container), paintbrushes, paint, sandpaper, and various decorative items such as ribbons, fabric scraps, stickers, etc. Additionally, if you plan on using any stencils or stamps for decoration, then be sure to have those ready. It may also be helpful to have some protective gloves on hand if you get your hands dirty.
Prepare the Wooden or Corrugated Cardboard Soap Box
Once your materials are ready and prepared, it’s time to start prepping the wooden soap box. Start by wiping down the surface with a damp cloth to remove any dust or debris from the surface. Next, use sandpaper to lightly rough up the entire surface area so that it has some texture for the paint to adhere better when applied later. Once finished with sanding, wipe down with a damp cloth before moving on to the painting and decorating steps.
Painting & Decorating Your Soap Box
Now that your wooden soap box is prepped and ready, it’s time for painting and decorating! This can be done however you choose, but here are some ideas for inspiration: use multiple colors of paints – try mixing colors or go with a monochromatic look depending on what suits your design best. Take advantage of stencils – you can use them to create unique patterns on the surface of your soap box.
Decorate further by adding ribbons, fabric scraps, or stickers – these will add color and texture while giving it an extra special touch. If desired, finish off with a sealer like a varnish or lacquer – this will give it additional protection against wear and tear over time. Make sure that each layer of paint/decoration is completely dry before moving on to the next step so that it doesn’t smudge or bleed into other areas.
Final Thoughts on How to Design a Soap Box That Meets Your Needs
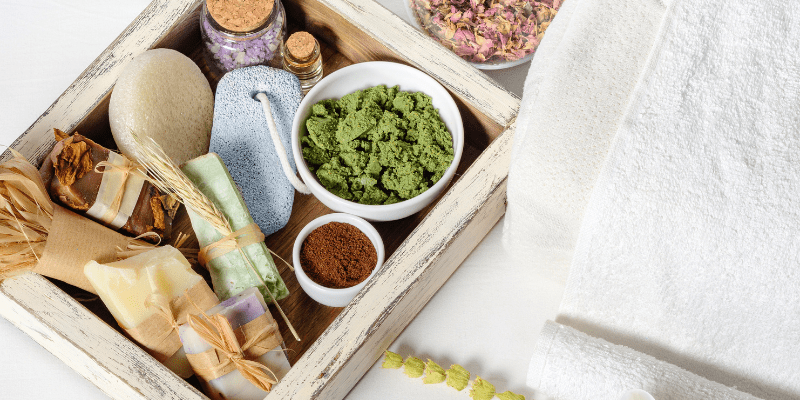
Designing customized soap boxes is essential for building and strengthening your brand, as the visual elements used to craft it create an immediate impression on potential customers. It provides your product with a professional look that has the potential to beat out competitors in terms of both aesthetics and usability.
Overall, designing the perfect soap box is a skill that will come with practice and craftsmanship. Start with small boxes, practice different techniques such as choosing colors, shapes, and sizes that work together, and don’t forget to add inspiring visuals or quotes for a nice touch.
Now you are ready to create stunning boxes that people won’t be able to put down!
With this guide, you should now feel confident to create custom soap boxes of any size that will make your products stand out from the rest. So get creative and leave a lasting impression with kraft soap boxes that look dazzling on retail shelves and highlight your branded packaging.
Ready to Use Stunning Soap Boxes for Your Product Range? We Got You!
If you want to make your soap packaging boxes stand out and make an unforgettable impression, Packoi Printing has the solution. With our custom soap packaging, your product will take on a newfound beauty and set itself apart from the competition. We will work with you closely to bring together the perfect combination of colors, font styles, and shapes in custom boxes that highlight the essence of your soap brand. What’s more, our prices are very competitive – we guarantee that you won’t find better value elsewhere. So don’t wait any longer – Contact us today and let us help you reach success!


