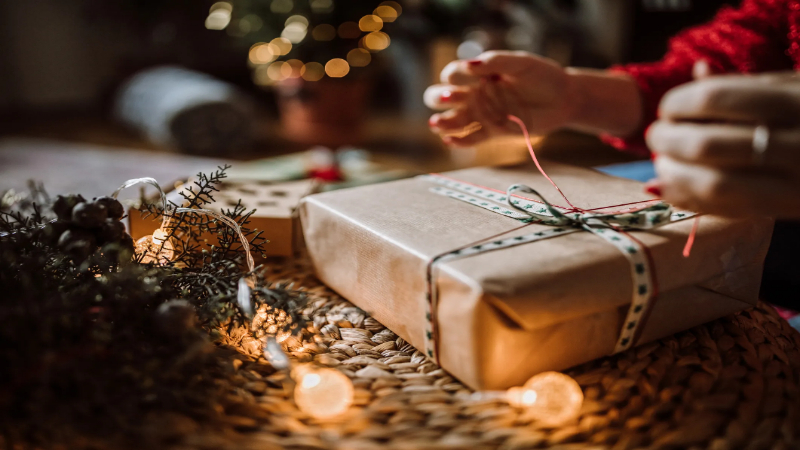
We’ll help you wrap your holiday gift in style this year with a handmade gift box made from recycling. In this easy guide, you will learn to make a beautiful gift box using things you probably have lying around your house.
Keep reading for instructions on how to make your very own gift box that makes your gift look exceptional!
Get Creative with Recycled Materials to Make a Gift Box
We often think of recycling as simply putting materials into a new container to be used again. But there are so many more possibilities. Let’s now round up some creative ideas for making a gift box out of recycling. From colorful paper to popsicle sticks, you can use any skill to make a gift box for small gift pops. So, here are the best recycling ideas for gift boxes:
Use Old Magazines or Newspaper for Gift boxes
You might not see an old magazine or newspaper as a substitute for a new gift box, or gift bag but they can very well be. So don’t throw them just yet. Here’s how to reuse them:
Step 1: Gather Your Supplies
To make your gift box or bag from old magazines, you will need the following material:
Two magazine pages (these will form the sides of your box)
One piece of cardboard (this will be the base of your box)
Clear tape
Ruler or measuring tape
Pencil or pen
Scissors
Decorative paper (optional)
Glue (optional)
Step 2: Measure and Cut Your Cardboard Base
Using your ruler or measuring tape, measure out a piece of cardboard that is twice the width of one of your magazine pages. For example, if your magazine page is 8.5 inches wide, then your piece of cardboard has a template of 17 inches wide. Once you have determined the width of your piece of cardboard, use your scissors to cut it out.
Next, measure and cut one end of your cardboard so that it is the same height as one of your magazine pages. For example, if your magazine page is 11 inches tall, then your piece of cardboard should be 11 inches tall.
Once you have cut out both sides of your cardboard base, set it aside for now.
Step 3: Measure and Cut Your Magazine Pages
Take one of your magazine papers and fold it in half lengthwise. Once it is folded in half lengthwise, use your scissors to cut along the fold. You should now have two long strips that are each half the width of the original magazine page. Repeat this step with your other magazine page.
Next, take one strip, and don’t forget to fold the corners in half widthwise. Once it is folded in half widthwise, use your scissors to cut along the fold. You should now have two squares that are each half the size of the original magazine page. Repeat this step with your other strip.
Now you should have four square folds total—two from each original magazine page. These four squares will form the sides of your gift box, so set them aside for now.
Step 4: Assemble Your Box
Time to start assembling your box. Take two of your squares and tape them together at both folds so that they form a long rectangle with an open top and bottom on opposite side. This will be one side panel of your box. Repeat this step with the other two squares so that you have two side panels total—one for each side of your box.
Take one side panel and tape it to one end of your cardboard base using clear tape. Make sure that the open top and bottom edges line up with the corresponding edges on the cardboard base. Then repeat this step with the other side panel so that both sides are attached to the cardboard base. You should now have a hollow rectangular box with an open top—the perfect place to store small gifts.
If desired, you can decorate the outside of your box by wrapping it in decorative paper or attaching paper embellishments with glue before filling it with gifts.
Wrapping Paper
Giving gifts is a wonderful way to show your loved ones how much you care. But what if your gift-giving could also be eco-friendly? Not only will your recipient love the unique presentation, but you’ll also feel good about giving a gift that didn’t cost the earth. So, let’s get started!
What You’ll Need
Before we jump into the step-by-step instructions, let’s take a look at what material you’ll need to create your recycled gift box. For this project, you’ll need:
Wrapping paper (preferably recycled or recyclable)
Scissors
Tape (again, recycled or recyclable is best)
A ruler or measuring tape
Pencil
Now that we have all of our materials gathered, let’s get started!
Step 1: Measure and Cut Your Wrapping Paper
Before creating this, you’ll need to measure the length and width of your gift card. Once you have those measurements, add two inches to each side so that there is enough paper to wrap around the edges of the card. For example, if your gift card measures 4″ x 6″, then you’ll want to cut your wrapping paper to 8″ x 10″.
After you’ve cut your wrapping paper to size, use scissors to round off the wings. This will give your gift box a more polished look.
Now set the wrapping paper aside for now – we’ll come back to it in a bit.
Step 2: Measure and Cut Your Recycled Paper
Just as with the wrapping paper, you’ll want to measure the length and width of your Gift Card. Once you have those measurements, add two inches to each side so that there is enough paper to wrap around the edges of the card. For example, if your Gift Card measures 4″ x 6″, then you’ll want 8″ x 10″ pieces of recycled paper.
Step 3: Assemble Your Gift Box
Begin by taking one piece of recycling paper and folding it in half lengthwise. Next, take the long side of the folded piece of paper and fold it up so that it meets the top edge of the fold (as shown in the picture below). Tape along this edge to secure it in place. Then do the same thing on the other side so that both sides are sealed shut with tape. Check out the pictures below for clarification on this step.
Repeat these steps for the other side so that both sides are complete. Now gently push down on each side – this will cause the bottom of your box to pop open slightly. At this point, your box is complete.
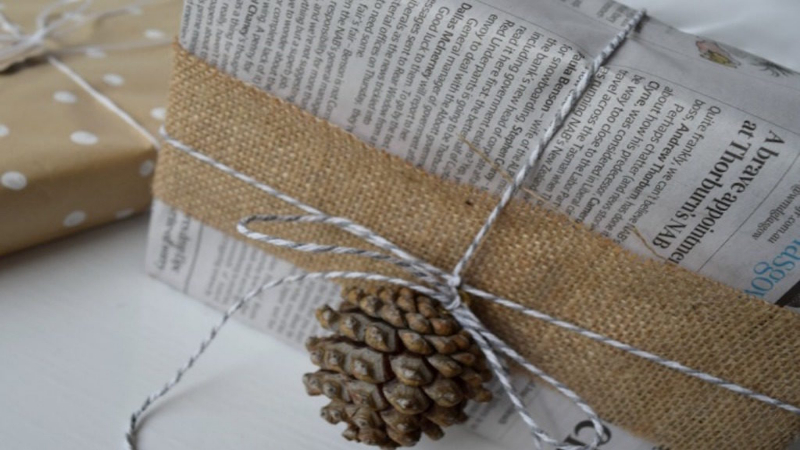
Make a Beautiful Gift Box with Ribbon, Stickers, or Paint
Upcycling is a great way to reduce waste and show your creative side through decoration. You can decorate reuse gift boxes with ribbon, bow, stickers, paint, or whatever you prefer to add a personal touch to any gift.
Follow these simple steps to create custom gift boxes:
Gather your items. You will need a recycled gift box, ribbon, scissors, and tape.
Cut the ribbon to the desired length. You can make the ribbon as long or as short as you like.
Tape one end of the ribbon to the inside of the box. Make sure the ribbon is secured with tape.
Wrap the ribbon around the box and tape the other end of the ribbon to the inside of the box. Make sure the ribbon is wrapped tightly around the box so it doesn’t come undone.
Trim any excess ribbon from the ends of the box. Your recycled gift box is now decorated with ribbon!
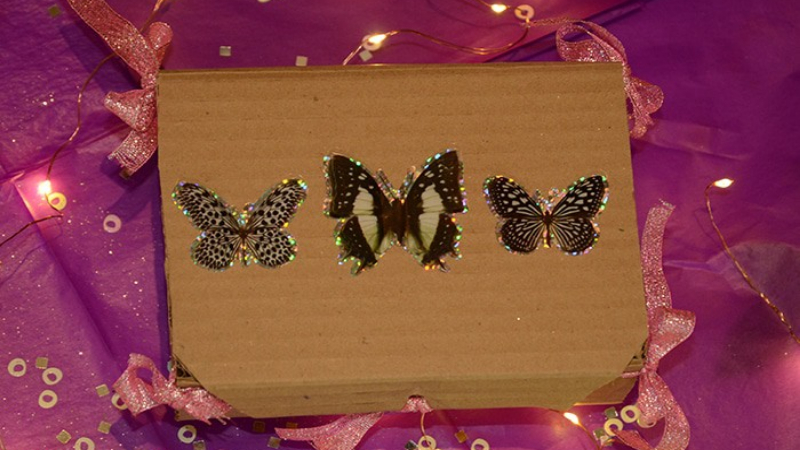
How to Decorate a Recycled Gift Box with Stickers
Gather your supplies. You will need a recycled gift box, stickers, and scissors.
Peel the stickers off of their backing paper.
Stick the stickers onto the outside of the box. You can put them wherever you like! Just make sure they are stuck on firmly so they don’t come off easily.
Trim any excess sticker from around the edges of the box. Your recycled gift box is now decorated with stickers!
Paint a Recycled Gift Box
To paint a recycled gift box, you’ll need the following materials:
One recycled gift box ( a cardboard or cereal box will work well )
Acrylic colors
Paintbrush
Pencil
Ruler
Scissors
Prepare the Box for Painting
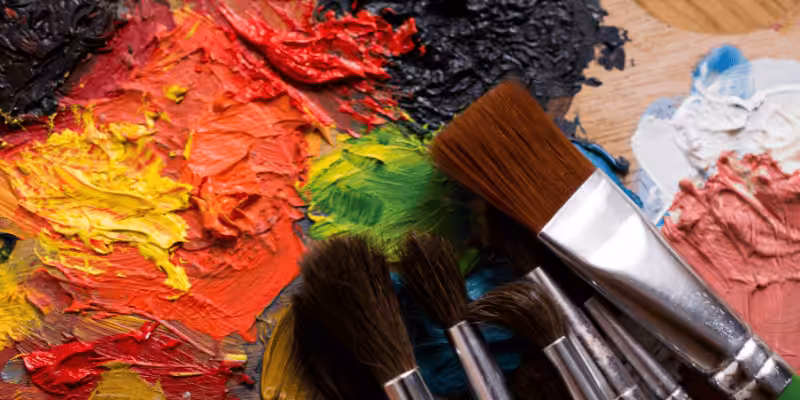
Use the pencil and ruler to measure and mark out a border on the top of the cereal box. Then, use the scissors to cut along the border to create a lid for your gift box. Next, use a piece of sandpaper to rough up the surface of the box to help the paint to adhere better. Once you’re finished, wipe away any dust with a damp cloth.
Paint the Box
Begin by painting the entire cereal box with a base coat of paint. Once the base coat is dry, use your pencil and ruler to measure and draw out a design on the lid of the box. Then, fill in the design with paint. You can be as creative as you like here – let your imagination run wild. Once you’re finished painting, set the lid aside to dry.
Assemble Your Box
Now that everything is dry, it’s time to put your box together. First, fold along all of the pre-scored lines on your recycled cardboard box so that it takes shape, and use glue or double-sided tape to attach the painted lid to the top of the box. And that’s it!
Conclusion
Now that you know how to make recycled gift boxes, start thinking about post the idea of what you’re going to put inside them. As we mentioned before, recyclable packaging materials are always the best choice for packing gifts as they are better for the environment, and you will be glad to save some money. So why not take a few minutes to gather up some recyclable materials from packages around your house? With a little creativity, you’ll be able to turn them into beautiful and unique gifts that will surprise and delight your friends and family.
Want a unique, sustainable way to pack gifts? Look no further than Packoi Printing. We specialize in recyclable gift boxes that are custom-made to fit your personality. Whether you want something small and simple or large and elaborate, we can deliver the results you’re looking for. And because our custom gift boxes are made from recyclable materials, you can feel good knowing that your gift is not only beautiful but also environmentally friendly.