That’s where strategic packaging sleeve design comes in. It’s a smarter way to enhance your product’s shelf appeal without the high cost and minimum order quantity of full custom boxes.
This guide shows you how to design custom packaging sleeves that sell. We’ll cover choosing the right paper stock, getting a perfect fit, and preparing your file for flawless sleeve printing. Stop paying for excess packaging and start investing in smarter branding.
When to Choose Packaging Sleeves: A Quick Strategic Guide
Before diving into design, let’s talk strategy. A packaging sleeve isn’t just a piece of paper; it’s a business decision. Understanding when and why to use one is the first step toward a great return on investment.
Packaging Sleeves vs. Custom Boxes vs. Stickers: A Cost-Benefit Breakdown
How do packaging sleeves stack up against other common branding options? Here’s a simple comparison to help you decide.
Feature | Packaging Sleeves | Full Custom Boxes | Stickers / Labels |
Cost | Low to Medium | High | Very Low |
Minimum Order | Low | High | Very Low |
Brand Impact | High (360° branding) | Very High (Full experience) | Low to Medium (Limited space) |
Flexibility | Excellent (Easy to swap for seasons/promos) | Poor (Tied to one design) | Good (Easy to apply/change) |
Best For | Startups, product variations, seasonal campaigns, cost-saving upgrades. | Premium products, established brands, gift sets. | Budget startups, adding info, sealing packages. |
The 4 Key Business Wins with Custom Packaging Sleeves
- Significant Cost Savings: Sleeves use far less material than a full box, directly reducing your costs. You can buy generic boxes in bulk at a low price and use custom sleeves to differentiate products. This can save you up to 50-70% compared to ordering small batches of unique custom boxes.
- Unmatched Brand Flexibility: Launching a holiday special? Running a limited-time promotion? With sleeves, you can adapt in weeks, not months. Simply print a new batch of sleeves to slide over your standard boxes. This prevents dead stock of seasonal packaging.
- Packoi Expert Tip: Use sleeves for A/B testing your packaging design. Print two different sleeve designs in a small batch and see which one performs better in the market before committing to a larger order.
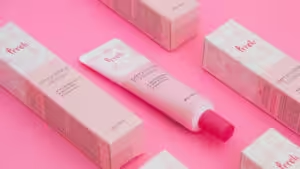
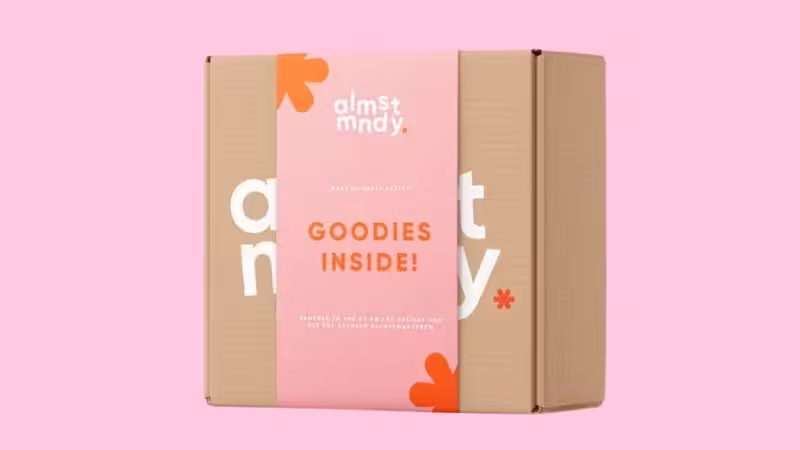
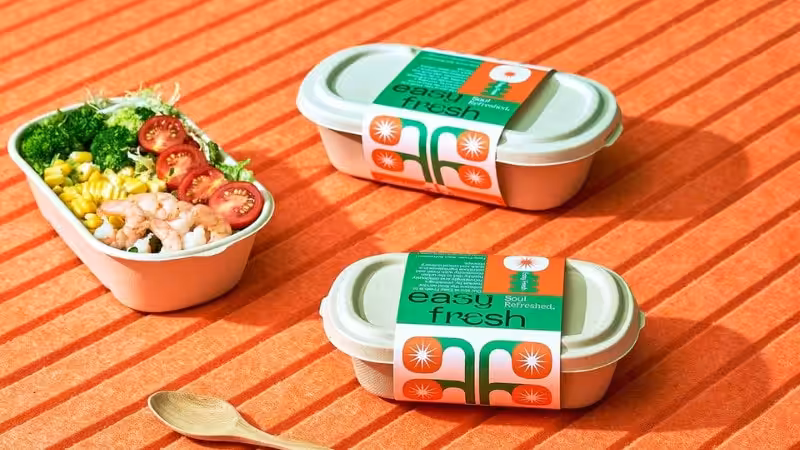
- Elevated Shelf Appeal: Elevated Shelf Appeal: A well-executed packaging sleeve design adds dimension and texture, making a standard box look premium. Creative die-cuts and finishes like a matte coating or a shiny finish draw the eye, turning a plain package into an engaging experience.
- A Stronger Eco-Friendly Story: In a world wary of over-packaging, a sleeve is a responsible choice. It shows you’re conscious of waste while still investing in a beautiful presentation. Using recycled paper for your sleeves further strengthens this message.
How to Create the Perfect Sleeve: A Step-by-Step Guide
Creating a custom sleeve is easier than you think. Follow these four practical steps to avoid common mistakes and ensure a professional result.
Step 1: Get the Right Fit – How to Measure Your Box Accurately
An ill-fitting sleeve looks unprofessional and can slide off. Precision is key.
- Measure Width (W) and Height (H): Place your box on a flat surface. Use a ruler to measure the width (the side the sleeve will slide over) and the height.
- Calculate the Sleeve’s Flat Width: The sleeve needs to wrap around the box. The formula is: (2 x Width) + (2 x Height) + 1/2 inch (or 1.3 cm) for the glue flap.
- Determine the Sleeve’s Height/Depth (D): This is simply how wide you want the sleeve band to be on your box. It’s a design choice.
- Packoi Expert Tip: For a snug but not-too-tight fit, add a tiny bit of “breathing room” – about 1/16 inch (or 1-2 mm) – to your total circumference calculation. This makes sliding the sleeve on and off much smoother.
Step 2: Packaging Sleeve Design That Sells – 5 Tips for Non-Designers
You don’t need to be a graphic designer to create an effective sleeve. Many businesses use an online design tool or start with pre-made packaging sleeve templates to simplify the process. Whether you create your own or use a template, these principles are key.
- Establish a Clear Focal Point: What is the one thing you want customers to see first? Your logo? The product name? Make it the biggest and boldest element on the front panel.
- Create Information Hierarchy: Don’t treat all information equally. Use different font sizes and weights.
- Primary: Brand Name, Product Name
- Secondary: Key benefits (e.g., “Organic,” “Handmade”)
- Tertiary: Net weight, ingredients, website
- Keep Branding Consistent: Use your brand’s colors, fonts, and logo. The sleeve should feel like part of your brand family, not a random addition.
- Use White Space: Don’t cram every inch with text and graphics. Empty space (white space) helps your key elements stand out and gives the design a clean, professional look.
- Think in 3D: Remember the sleeve has a front, back, top, and bottom. Use the back for detailed information (story, instructions) and keep the front clean and impactful.
Step 3: Prepare Your Artwork for Sleeve Printing – A Quick Checklist
To avoid printing disasters, check your design file against this list before sending it to your printer.
Properly prepared file formats (like PDF or AI) ensure a smooth production time. After you upload images and finalize your artwork, your printer should provide a free pdf proof for you to approve.
- [ ✓ ] Color Mode: Is your file in CMYK color mode, not RGB? CMYK is the standard for printing.
- [ ✓ ] Resolution: Are all images at least 300 DPI? This prevents blurry or pixelated results.
- [ ✓ ] Bleed Area: Have you extended your background design 0.125 inches (3mm) beyond the final cut lines? This ensures no white edges appear after trimming.
- [ ✓ ] Safe Zone: Is all important text and imagery kept at least 0.125 inches (3mm) inside the cut and fold lines? This prevents them from being cut off.
- [ ✓ ] Glue Flap: Is the area for the glue flap left blank (no ink or coating)? This helps the adhesive stick properly.
Step 4: Assembly & Production Details
Once your sleeves are printed, how do they stay on the box? Most custom packaging sleeves ship flat for cost-effective freight and are designed for easy assembly.
You typically have two main seal option types:
- Tape Area:A common method is using double sided tape or wide double sided tape on the designated glue flap. This provides a strong, permanent bond.
- Peel and Seal:For ultimate convenience, opt for a peel and seal strip. You simply peel off the protective liner and press to close. This is faster and cleaner for high-volume packing.
Understanding the printing turnaround is also vital. This usually ranges from 5-10 business days, depending on the quantity and complexity of your custom orders.
Choosing Paper Stock & Finish: A Sensory Guide
The material you choose communicates as much as your design. It’s the difference between “cheap” and “quality” in a customer’s hand.
Paperboard: The Standard Paper Stock
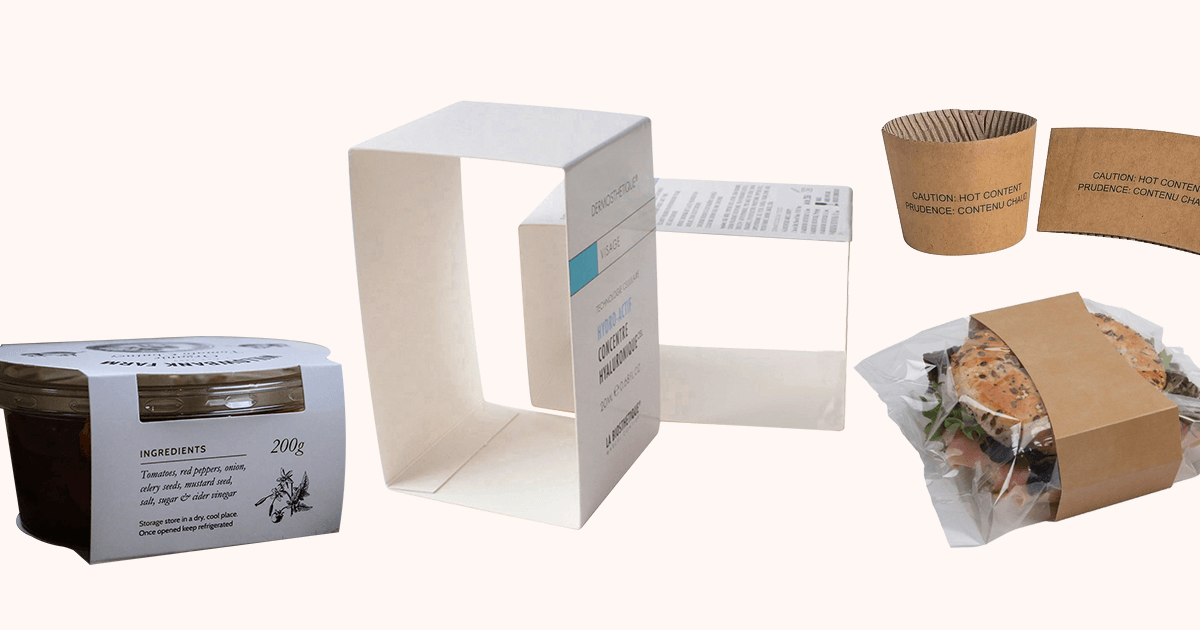
This is the most common paper type for sleeve printing. It offers a great balance of durability and cost, similar in feel to premium magazine paper or quality postcards purchased for mailing.
- 14pt Cardstock: Feels like a quality postcard. Great for lightweight products.
- 16pt-18pt Cardstock: Noticeably thicker and more durable. It has a premium feel, suitable for heavier items or luxury goods.
You can print logos and graphics on paperboard for a sleek, professional look. Common finishes include Matte (soft, elegant, no glare) and Glossy (shiny, vibrant, more resistant to scuffs).
Clear Plastic Sleeves: Showcase Your Product
Made from materials like PVC or the more eco-friendly PLA, these transparent plastic wraps let customers see your product inside. They are durable and water-resistant, making them great for items where visual appeal is everything. While they can be more expensive, the transparency is a powerful selling tool.
Die-Cut Foam Wraps: Ultimate Protection for Fragile Items
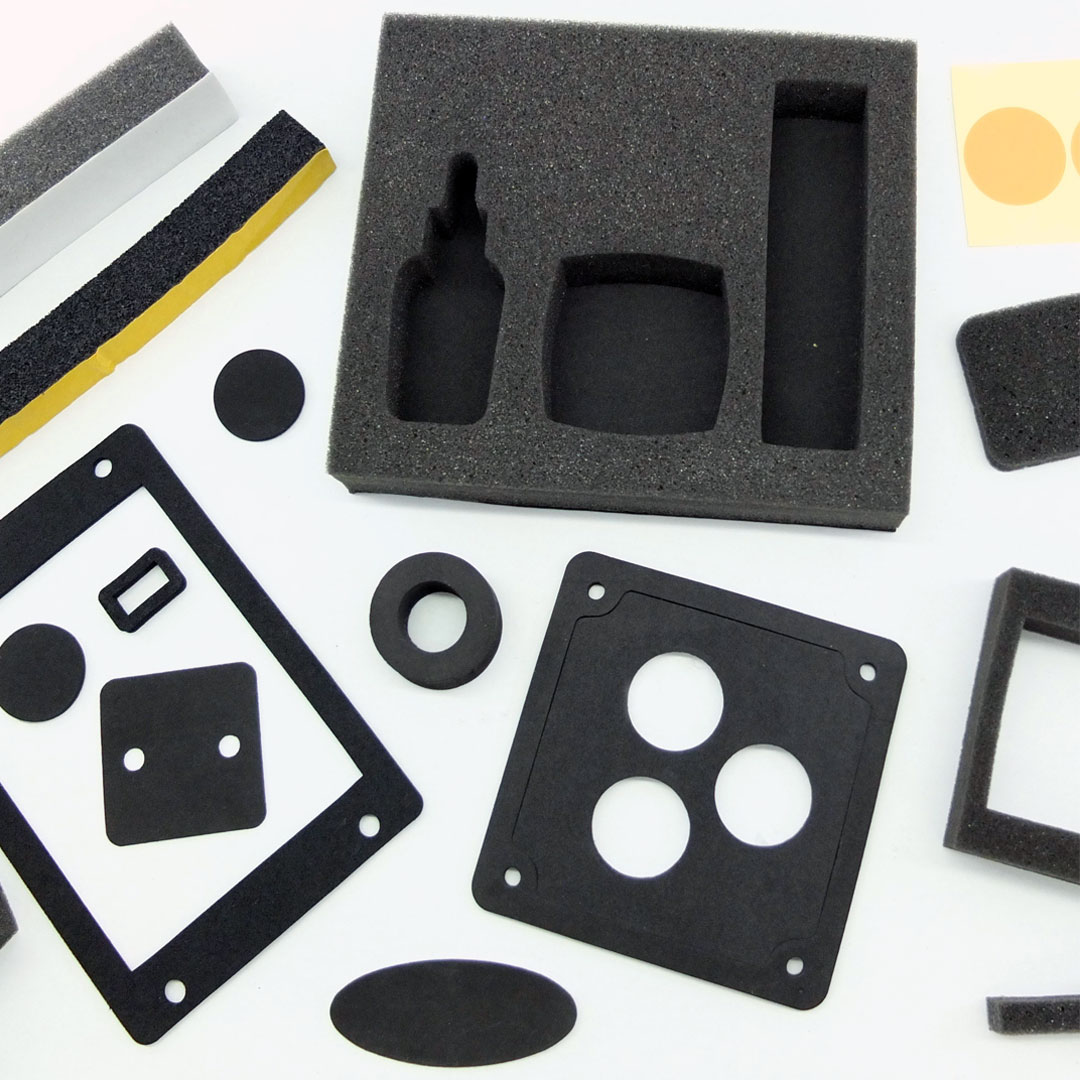
Specifically designed for fragile items like glassware or electronics, these soft foam wraps are custom-cut to hug your product. Foam offers superior shock absorption, ensuring your items arrive safely without damage.
Foil Sleeves: A Premium Choice for Food and Gifts
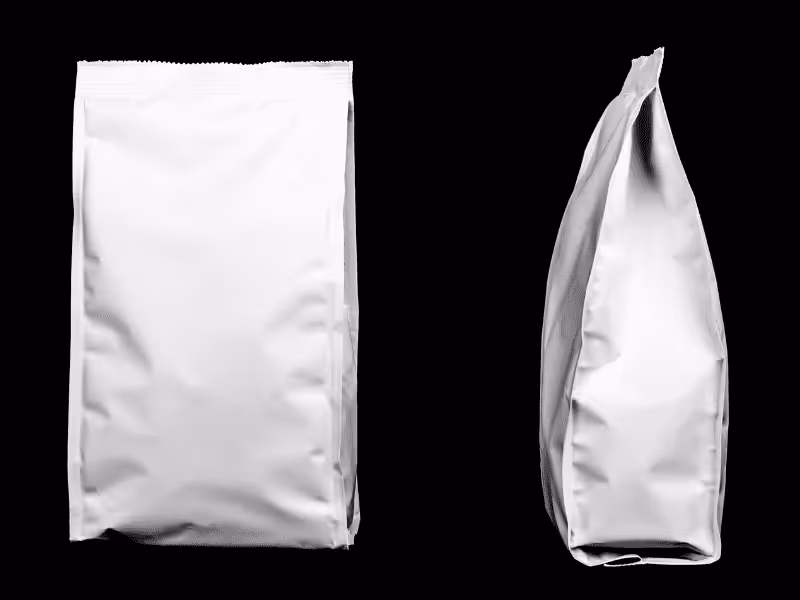
Made from a metallic foil laminate, these are perfect for food packaging sleeve printing. They protect against moisture and light, making them ideal for items in a food container like chocolate bars. The reflective, shiny finish created by full color printing with vibrant colors is perfect for catching the eye.
Eco-Friendly Options: Showcasing Your Commitment to Sustainability
Using sustainable materials is a powerful brand statement.
- Kraft Paper: Unbleached, brown paper that gives a rustic, natural, and earthy feel.
- Recycled Paperboard: Made from post-consumer waste, it tells a clear story of environmental responsibility.
- FSC-Certified Paper: Guarantees the paper comes from responsibly managed forests.
Inspiration Gallery: Real Brands Winning with Sleeve Packaging
Great examples can spark great ideas. Here’s how successful brands use sleeves.
The Global Icon: Coca-Cola’s “Share a Coke” Campaign
The “Share a Coke” campaign was launched by Coca-Cola in 2014 as part of its global marketing strategy to increase awareness and engagement with its brand. The concept was simple – instead of featuring their classic logo on the packaging sleeve, they replaced it with common names such as Tom, Sarah, or John. This created an emotional connection with customers, allowing them to customize their bottle or gift one to someone special.
The campaign was so popular that it was rolled out across many countries and ultimately led to increased sales for Coca-Cola.
The Seasonal Master: Starbucks’ Holiday Sleeves
Starbucks is a master of seasonal sleeve printing. Their eye-catching holiday packaging sleeves, often called belly bands in the industry, feature festive designs that create excitement.
These packages use bright, vibrant colors and bold typography. This simple print turns a coffee cup into a holiday treat, driving purchases and social media shares.
The Emotional Connector: Hershey’s Valentine’s Day Sleeves
Hershey’s has become synonymous with Valentine’s Day thanks to its iconic heart-shaped chocolate boxes filled with delicious treats for loved ones. Their packaging sleeve is designed to convey love and affection through its use of bright pink hues, romantic typography, and playful illustrations. All features that evoke strong emotions from customers during this special time of year.
The Small Business Success: How a Local Soap Brand Cut Costs
A small, handmade soap company used plain kraft boxes and invested in high-quality, 18pt printed sleeves. This allowed them to differentiate scents with different sleeve designs, appear more premium than competitors using stickers, and reduce their overall packaging storage space by 70%.
Frequently Asked Questions About Packaging Sleeves
Q1:Can I order a small quantity of packaging sleeves?
Yes, many modern printing companies accommodate small businesses and offer low minimum order quantities (MOQs). While larger runs often have a lower per-unit cost due to initial setup, ordering a small batch is perfect for testing a new design or for limited edition products. Always check with your supplier, as MOQs can vary based on the material and printing complexity.
Q2:How long does it take to print and ship custom packaging sleeves?
Standard turnaround time is typically 7-10 business days after you approve the final design proof. This includes printing, cutting, finishing, and packing your order for shipment. Timelines can be affected by factors like design complexity, special finishes like foil stamping, and the quantity of your order, so it’s best to confirm the schedule with your printer.
Q3:Do packaging sleeves come with the box?
Generally, packaging sleeves are sold as a separate component designed to wrap around your existing product or box. You are responsible for providing the precise dimensions of your box so the sleeve can be manufactured for a perfect fit. This à la carte approach gives you the flexibility to source your primary boxes from anywhere while upgrading the branding with a custom sleeve.
Q4:What is a die-cut and do I need one for my sleeve?
A die-cut is a process that uses a custom-made blade to cut a unique shape or window into the paperboard. For example, a window can allow customers to see your actual product, while a custom shape can make your packaging stand out on the shelf. While a standard rectangular sleeve is effective, a custom die-cut can elevate your design but requires precise artwork preparation; consulting with a packaging specialist is the best way to explore these creative options.
Final Thoughts on Ordering Packaging Sleeves
There are many options to make your product stand out and increase its value, but good packaging enables you to take that one step further. Packaging sleeves allow companies to create visually appealing designs and communicate who they are and what they’re selling, increasing their return on investment through repeat consumer purchases.
By the end of the day, product packaging sleeves offer businesses tremendous value that is well worth any additional costs in choosing them for their products.
Ready to Bring Your Packaging to Life?
Want to improve your brand’s customer experience with a custom sleeve that speaks to your unique voice? Then you need Packoi Printing. Our experienced design team is ready to help you create beautiful and bold customized sleeve boxes that stand out.
We make it easy – just get in touch, tell us what you are after, and we’ll take it from there. Don’t delay – contact Packoi Printing today!