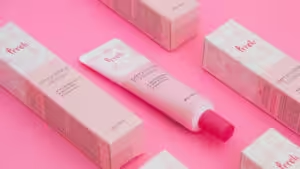
Spot UV printing is a versatile post-press technique that creates a glossy, raised effect — adding elegance and sophistication to any printed piece. This method instantly injects a premium look, enhancing the visual and tactile appeal of business cards, brochures, and luxury packaging.
However, achieving flawless contrast requires high precision, making this complex printing process difficult to master.
In this complete guide, we’ll explore the basics of how it works, its key benefits, applications, and expert design tips.
What is Spot UV Printing?
Spot UV printing is a premium post-press technique where a clear, polymer resin is screen-printed only over specific areas of a design and then cured instantly under ultraviolet (UV) light.
As a finishing touch, this liquid varnish hardens into a glossy raised layer, turning standard printed pieces into effective brand tools. If you’re exploring high-end print finishes, understanding this process helps you make better sourcing decisions.
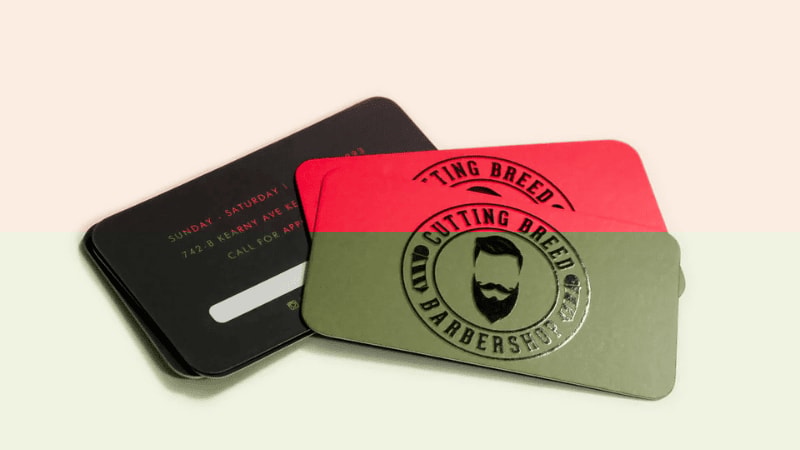
By placing shine against flat backgrounds, this method produces visual depth that enhances perceived quality. A well-executed UV application lets you highlight priority elements—such as a company emblem—so they stand out on store shelves or in a stack of cards.
Standard UV vs. Spot UV vs. Blind Spot UV
To help you choose the right technique for your next project, here is how different UV printing methods compare in value and application:
| Printing Method | How It Works | Best Used For |
|---|---|---|
| Standard UV | Coats the entire printed surface with resin. | Uniform shine with full-area protection. |
| Spot UV | Applied only to selected design elements. | Emphasizing specific visuals through shine contrast. |
| Blind Spot UV | Printed onto blank substrate areas (no ink below). | Understated luxury on dark or unprinted surfaces. |
Standard UV vs. Spot UV – What’s the Difference?

A full UV coating covers everything. While this offers protection, excessive reflection can wash out fine details.
- For instance: A fully glossed business card may look shiny, but phone numbers or email addresses become harder to read under office lighting.
Spot UV solves this by coating only chosen zones. You get brilliant accent shine without hurting readability.
- Example: On a business card, apply the gloss effect only to the company name, leaving the rest matte. The resulting texture shift makes the card more memorable—without sacrificing function.
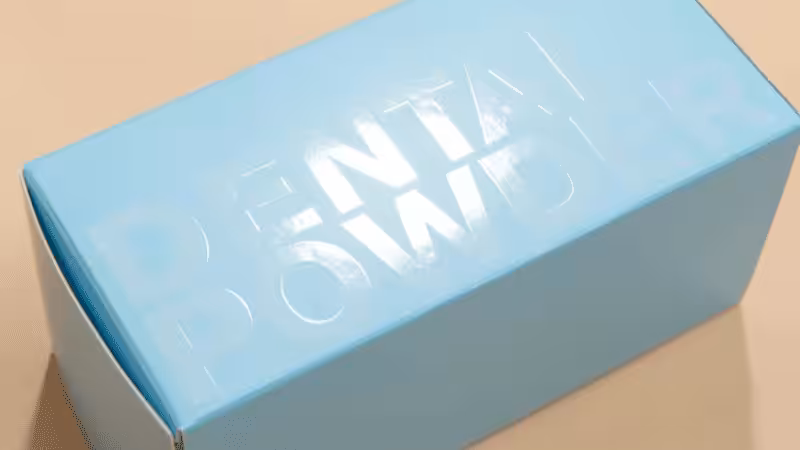
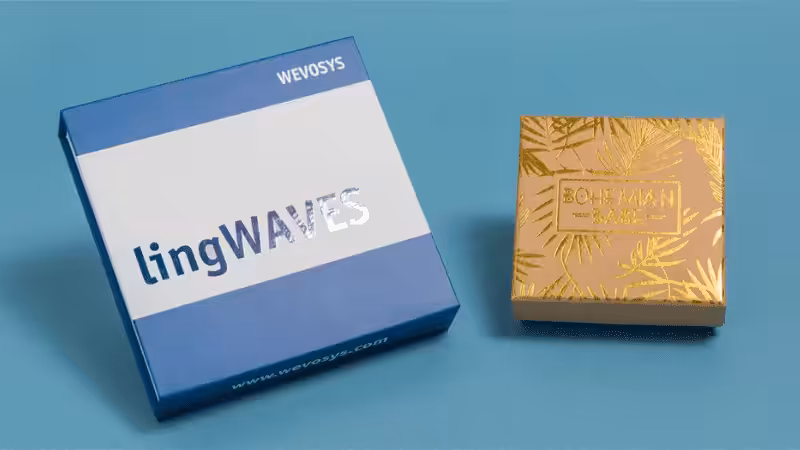
What is Blind Spot UV Coating?

Blind Spot UV places the same resin onto unprinted areas of the paper or board. With no colored ink beneath, the image stays nearly invisible until light hits it from an angle.
This approach relies purely on surface texture and light reflection to define shapes. The outcome is a quiet, sophisticated look favored by premium brands.
💡 Reader Tip: Blind Spot UV – Choose or Skip?
Skip it when: Your brand identity depends on bright, saturated visuals or high-contrast layouts. Standard Spot UV will deliver better results there.
Choose it for: Black-on-black packaging, corporate gift boxes, and minimalist invitations where subtle texture matters more than bold colors.
How Does Spot UV Printing Work?

As a premium finishing technique, this process uses your existing artwork to add a high-gloss shine onto certain areas of a specific substrate. However, achieving a flawless spot UV finish depends entirely on precise preparation.
To set up a Spot UV application, clients must supply a mask file that indicates where the UV coating will be applied, ensuring the file has clean, defined lines without gradients or soft edges. This specialized document is known as the spot UV file.
We can break down this industrial production cycle into five clear phases:
Phase 1 – Design Preparation

- Step 1 – Mapping the Elements: The first step is to isolate the exact design elements that require coating. You will use your existing vector artwork to create a separate design layer specifically for the UV elements.
- Step 2 – Creating the Mask: Generate a 100% solid black K-channel map on this layer. These black elements represent the exact areas where the spot UV varnish will be deposited, serving as the foundational file setup for production.
Phase 2 – Prepare UV Silk Screen
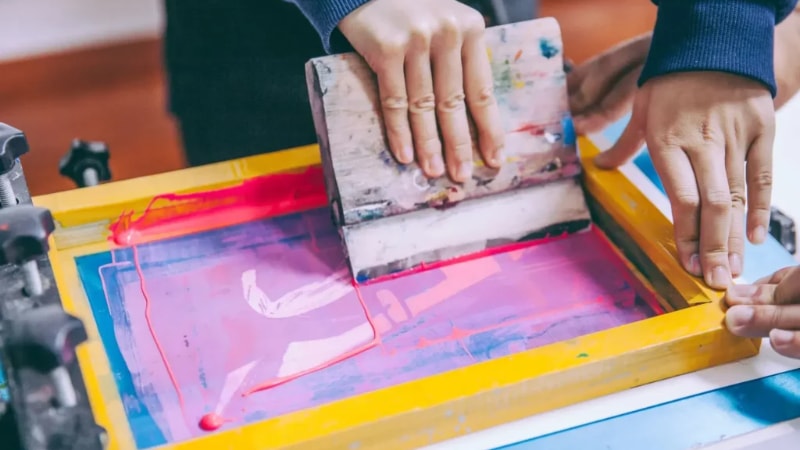
Here is how industrial screen preparation works:
- 🛠️ Step 3 – Emulsion Coating: In a specialized darkroom, technicians coat a fine mesh screen with a light-sensitive, UV-reactive emulsion. Keeping this environment dark ensures the emulsion does not cure prematurely.
- 📐 Step 4 – Film Alignment: The black-and-white mask film is perfectly aligned and placed on top of the coated mesh layer. The film and the screen must share identical dimensions to prevent registration errors.
- ☀️ Step 5 – UV Exposure: The screen is exposed to an intense UV light source. The light hardens the exposed emulsion but cannot penetrate the solid black areas of the mask film.
- 🧼 Step 6 – Screen Washing: The screen is washed with water to rinse away the soft, unexposed emulsion hidden under the black mask. This opens up the mesh, completing the tool used for silk screening.
Phase 3 – Base Printing
- Step 7 – Background Printing: First, your graphics are printed onto the base packaging material using traditional industrial methods (such as offset printing or digital presses).
- Step 8 (Optional) – Registration Check: Before applying any gloss, the cured base print is placed beneath the newly made silk screen to physically verify the alignment marks, guaranteeing a perfect match between ink and varnish.
Phase 4 – UV Coating Application
- 🎛️ Step 9 – Machine Setup: Technicians install the prepared mesh screen into the automated spot UV coating machine and securely position the pre-printed base sheets onto the feeding system.
- 🧪 Step 10 – Varnish Squeegee: Industrial UV resin is poured onto the screen. A mechanical squeegee sweeps across the mesh, precisely forcing the liquid varnish through the open areas of the screen directly onto the targeted spots of the passing print substrate.
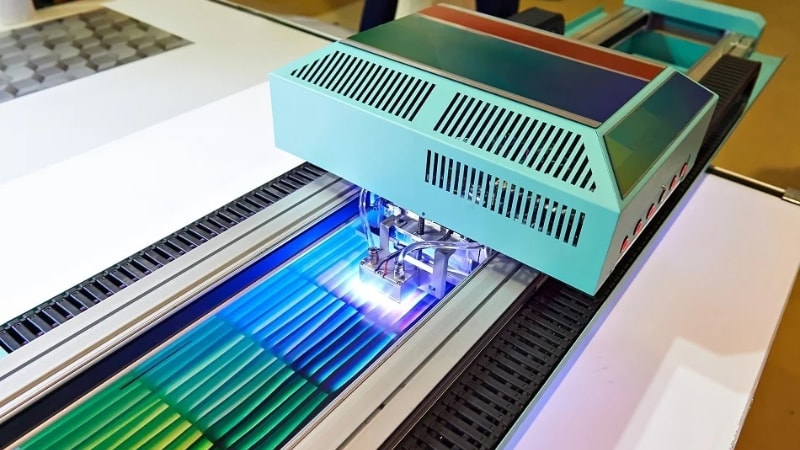
Phase 5 – UV Light Curing
- Step 11 – Sheet Transfer: The printed sheet, now carrying wet resin, is carefully lifted by the automated system and transferred onto a high-speed conveyor belt.
- Step 12 – Industrial Curing: The conveyor carries the sheets through a closed UV curing chamber. Under high-intensity artificial ultraviolet lamps, the liquid photopolymers undergo an instant chemical reaction, hardening in milliseconds into a scratch-resistant, glossy shield that delivers premium unboxing quality that customers notice.
Benefits of Spot UV Printing
High-gloss spot UV coating is one of the easiest ways to make your designs stand out. Advanced UV printing offers numerous advantages, making it a premier industrial choice for enhancing printed materials.
1. Visual Appeal & Saturated Depth
The introduction of a selective high-gloss finish adds immense depth to your artwork. Light reflections bouncing off specific zones create visual drama that traditional digital printing alone cannot accomplish.
Industry Fact: The use of spot UV on matte lamination creates a striking effect, making colors appear darker and enhancing the visibility of key design elements, which is particularly effective for luxury packaging.
By isolating these glossy accents against a flat backdrop, the technique gives colors a rich, saturated pop that allows your product to instantly grab attention on crowded retail shelves.
2. Tactile Feel & Sensory Engagement
Unlike flat ink, the additional resin layer sits noticeably higher than the rest of the substrate, providing a profound tactile contrast.
- The Fingerprint Effect: As customers move their hands across the surface, they encounter a sudden, premium shift in texture, giving the item a distinctive look.
- The Premium Combo: When applied on top of a velvety soft-touch lamination, this thickness creates a multi-sensory experience that immediately communicates a premium feel before the customer even opens the box.
3. Professional Look & Brand Credibility
While the definition of professionalism varies across industries, a truly high-end printed product always conveys meticulous attention to detail.
By applying a targeted gloss to specific accents, you give your marketing assets a unique edge. This small creative investment demonstrates that your business goes the extra mile, instantly elevating how customers perceive your brand quality.
4. Uncompromised Durability
At its core, the cured UV coating is a shield of hardened polymer resin. This material is far tougher than paper, offering excellent resistance against scratches, fingerprints, and general wear and tear.
| Material Feature | Standard Paper/Board | Cured Spot UV Resin |
|---|---|---|
| Scratch Resistance | Low (Prone to scuffs) | High (Protective shield) |
| Fingerprint Smudging | Visible on dark inks | Repels oil and smudges |
| Longevity | Medium | Extended lifespan |
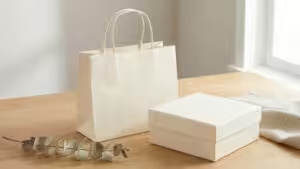
This durability is particularly vital for bulk-order packaging materials like corporate gift boxes and luxury paper bags. These items endure heavy handling during packaging, transit, and last-mile delivery, where minor scuffs are usually expected.
5. High-Precision Customizability

A massive advantage of this press technology is its absolute precision when customizing core brand assets like logos, text, and intricate patterns. Modern machinery handles a vast array of material thicknesses and textures.
Whether you are enhancing small corporate stationery or large corrugated shippers, you can effortlessly align the gloss with your exact brand logo coordinates, ensuring your identity remains sharp and unified across all mediums.
6. Cost-Effective Luxury
True luxury is defined by a sense of exclusivity and elegance. In a competitive market, brands that skip premium post-press options risk being perceived as low-quality or generic.
A strategically applied spot UV finish bridges this gap perfectly. It allows you to deliver a top-tier unboxing experience without the heavy financial inflation of traditional engraving or foil stamping, leaving a lasting impression and a memorable, high-end signature on every piece you ship.
Limitations of Spot UV Printing
While the visual impact of this technique is undeniable, like any other industrial technology, it has its fair share of real-world drawbacks. Understanding these engineering constraints prevents unexpected errors during bulk production.
Here are five critical factors and material compatibility pitfalls you need to consider before finalizing your project.
1. Mid-Range Cost Structure
The financial investment for this process sits in a middle tier. While it cannot compete with the incredibly low cost of standard digital printing, it remains significantly more budget-friendly than traditional physical die stamping, embossing, or copperplate engraving. It is an investment in premium marketing rather than a basic budget option.
2. Specific Substrate Suitability
Ultraviolet photopolymers require a perfectly flat, non-porous foundation to pool and reflect light properly.
- Best suited for: Smooth, dark substrates with a matte or soft-touch lamination.
- Compatibility pitfalls (where to skip): Avoid applying it to highly absorbent, uncoated stocks, textured linen papers, or deeply embossed craft boards. On these porous surfaces, the liquid resin sinks instantly into the paper fibers before curing, resulting in an uneven appearance with inconsistent gloss levels.
3. Extended Production Turnaround Period
- Time constraint: The finishing process adds specialized, mandatory production steps to your manufacturing timeline, which naturally results in a longer turnaround period.
- Why it takes longer: Unlike instant digital output, the factory must dedicate time to Phase 2 (chemical emulsion coating and washing to create the physical mesh screen) and Phase 4 (manual machine calibration and physical alignment checks) before a single drop of varnish can be applied.
4. Vulnerability to Creasing (Large Areas)
If you apply a high-build resin layer over a wide, continuous zone that sits directly on a packaging fold or crease line, the hardened plastic shield becomes brittle. When the box or heavy paper bag is folded during assembly or transit, the solid varnish layer is highly prone to cracking and flaking along the edges.
5. Fine Detail Bleeding
Because the varnish is applied as a liquid polymer under a mechanical squeegee before being instantly frozen by UV lamps, it has a slight tendency to spread. Extremely fine text (under 6pt) or ultra-thin vector lines (under 0.5pt) placed too close together can suffer from “bleeding,” causing the liquid to bridge the gaps and blur your sharpest details.
Spot UV Printing: Pros and Cons Comparison
To help your sourcing team make a balanced decision, here is a quick reference matrix comparing the operational benefits against the production realities:
| Core Advantages (The Pros) | Production Limitations (The Cons) |
|---|---|
| Creates striking tactile contrast and visual drama. | Brittle on folding creases; prone to cracking if too wide. |
| Elevates perceived brand value for luxury unboxing. | Requires a longer turnaround period due to screen setup. |
| Provides a hardened, scratch-resistant protective shield. | Completely incompatible with uncoated or highly porous textured papers. |
| Costs much less than premium embossing or hot foil stamping. | Higher unit cost compared to standard full-surface offset or digital gloss. |
Spot UV vs. Foil Stamping vs. Embossing: Sourcing Comparison
Before diving into specific use cases, B2B procurement teams must align their budget with the desired sensory impact. Here is a multi-dimensional benchmarking matrix comparing the top three premium finishing techniques:
| Finishing Technique | Cost Tier | Tactile Depth | Turnaround Speed | Best Substrate Match |
|---|---|---|---|---|
| Spot UV Printing | Mid-Range | Sleek, raised resin layer | Moderate (Requires screen setup) | Smooth matte coated paper / Laminated board |
| Foil Stamping | High | Flat, metallic reflective foil | Slower (Requires custom brass dies) | Uncoated, smooth, or matte stocks |
| Embossing / Debossing | High | Deep 3D physical deformation | Slower (Requires male/female dies) | Heavyweight, thick uncoated cotton/kraft paper |
Common Applications of Spot UV Printing
Advanced spot gloss enhancement can elevate virtually any flat-printed layout. By transforming standard graphics into an eye-catching sensory experience, this technique ensures your print project drives maximum engagement.
Here are the top commercial use cases for this unique post-press finish:
The Substrate Interaction: Maximizing Visual Contrast
To achieve the highest possible contrast, the choice of the underlying surface coating is critical. Spot UV behaves differently depending on the paper treatment beneath it:
- Matte Lamination: The absolute gold standard. The use of spot UV on matte lamination creates a striking effect, making colors appear darker and enhancing the visibility of key design elements, which is particularly effective for luxury packaging.
- Soft-Touch Lamination: Creates the ultimate velvet-versus-glass tactile contrast that immediately signals elite product positioning.
- Matte Varnish (Water-based/Opaque): Provides a clean contrast but is more porous than film lamination.
- The Bleeding Prevention Fact: When applying resin to dark or heavy-ink areas, factories must utilize an absolute non-porous pre-print barrier (like a matte BOPP film lamination). Without this pre-coating barrier, the highly porous paper fibers will absorb the liquid photopolymer before the UV lamps can cure it, leading to edge bleeding, blurred vector lines, and inconsistent gloss levels.
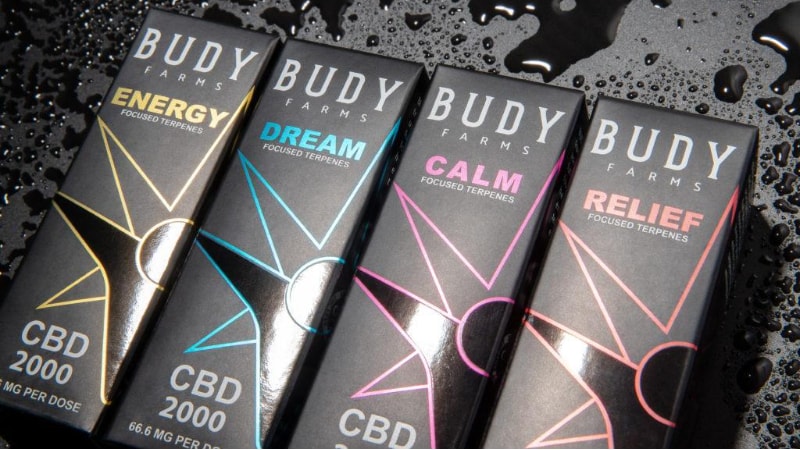
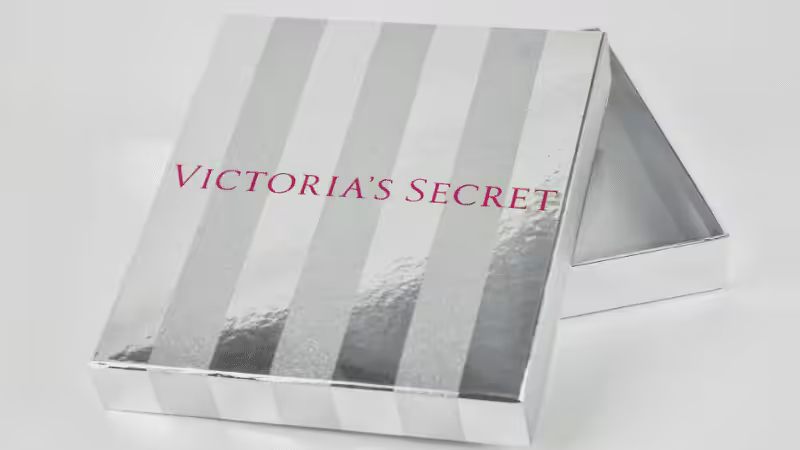
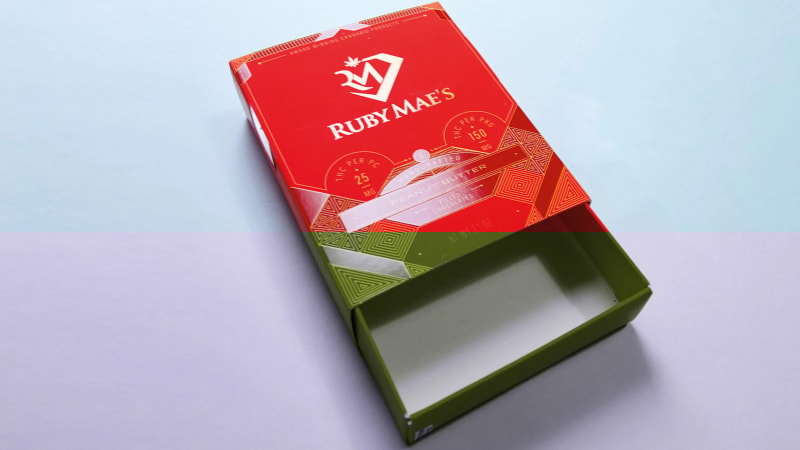
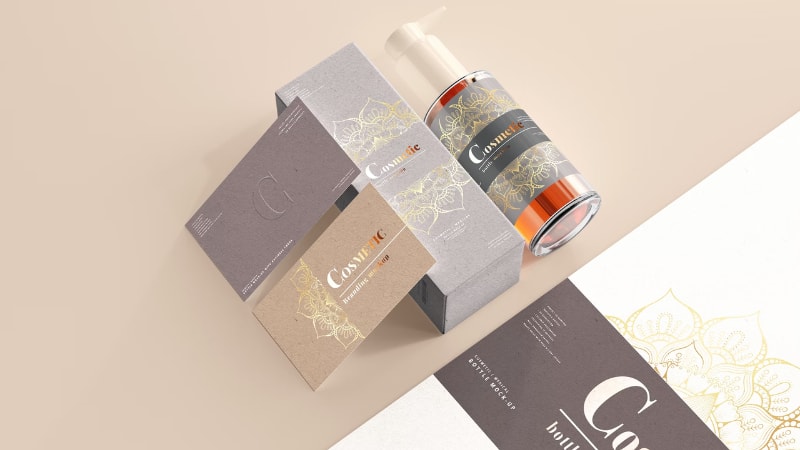
1. Luxury Packaging & Box Sleeves
The global packaging industry has grown significantly in the last few years and is expected to reach a staggering trillion dollars by 2027. In this fiercely competitive landscape, generic packaging no longer attracts consumers. Luxury brands are heavily investing in custom textures to claim dominant shelf presence.
Applying a selective gloss layer over logos, brand patterns, or product photography gives rigid boxes a highly distinctive, premium feel. The brilliant light reflection ensures the product stands out on crowded retail or grocery shelves, justifying a higher price point.
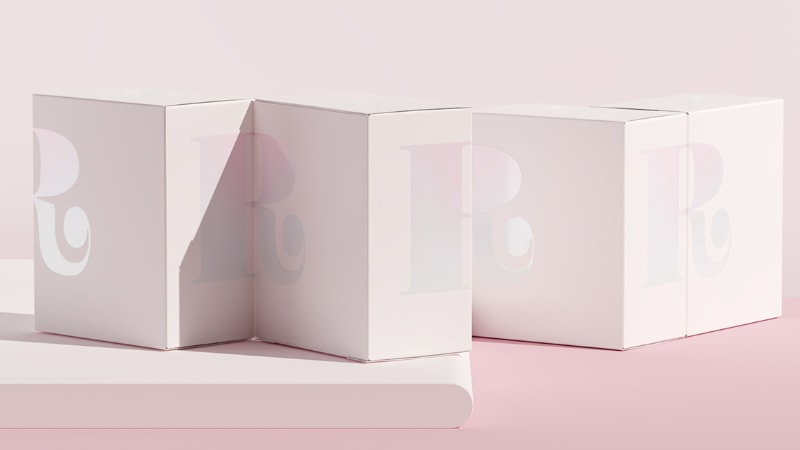
2. High-Conversion Direct Mail & Invitations
Marketing collateral needs to do more than look good; it needs to perform.
Marketing Fact: Industry data shows that spot UV printing can boost response rates in direct mail campaigns and event invitations by adding a tactile quality that enhances perceived value.
Whether you are designing corporate gala invitations or premium promotional mailers, highlighting the brand logo or RSVP details with a hard resin finish encourages the recipient to touch and hold the piece longer, leaving a powerful, lasting impression.
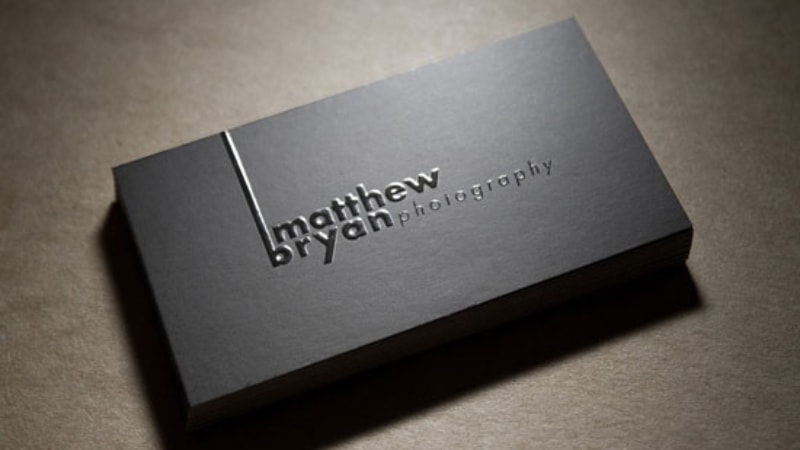
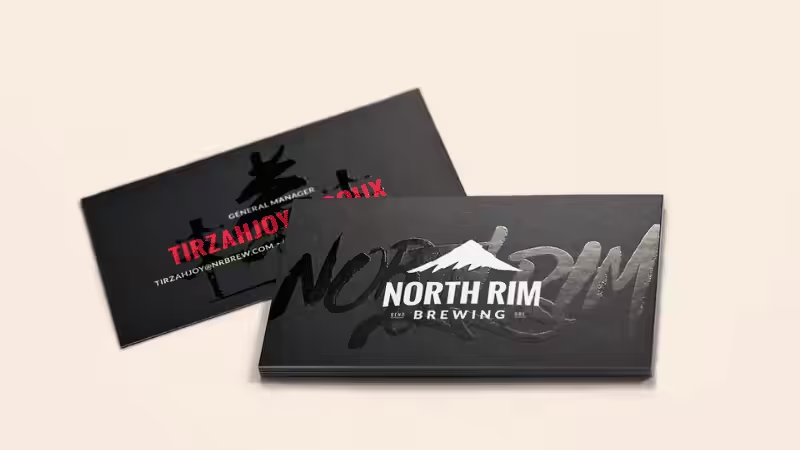
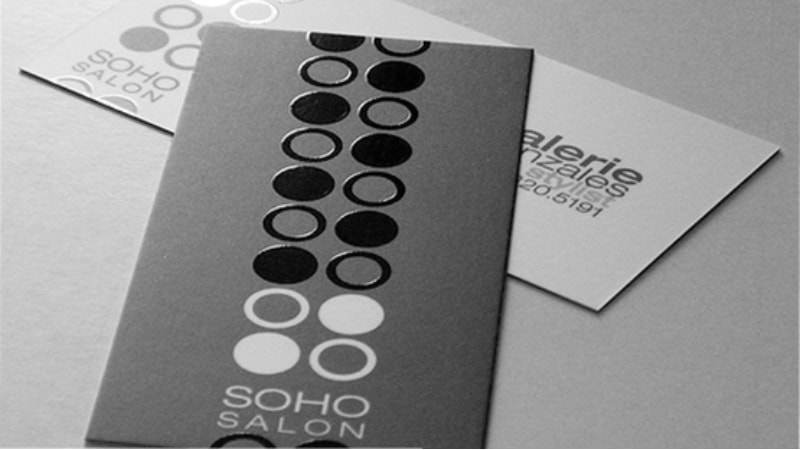
3. Professional Business Cards
The selective gloss technique is a staple for high-end corporate stationery. It is typically deployed to add a sleek shine to company emblems, employee names, or geometric background accents.
For an even more premium feel, combining the physical 3D depth of traditional embossing with the liquid shine of a heavy-deposit UV coat creates a striking, multi-sensory networking tool.
4. Premium Book Covers
Despite the popular idiom, consumers absolutely judge a book by its cover. A higher-quality, tactile jacket signals premium editorial value.
In commercial book printing, publishers frequently use selective gloss to accentuate titles, typography, and author names. This strategic finish helps fans immediately identify a specific writer’s series on a bookshelf. Furthermore, the hardened polymer forms a durable, scratch-resistant barrier that protects and maintains the beautiful cover artwork during shipping and bookstore handling.
5. B2B Brochures & Marketing Collateral
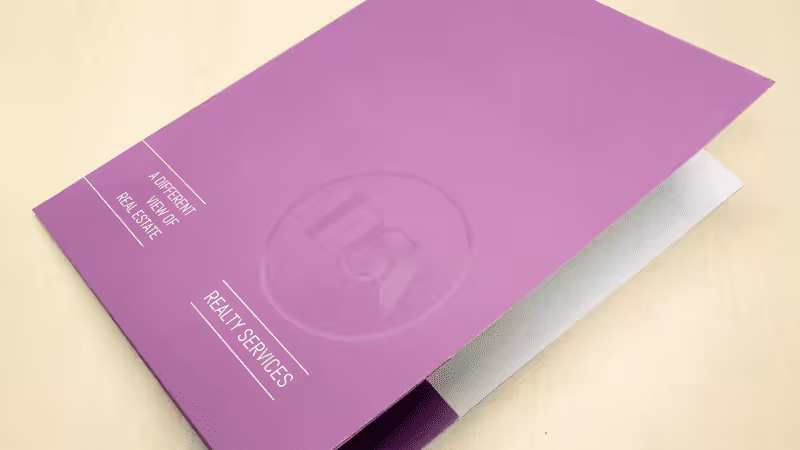
Sales sheets, pamphlets, and product brochures often contain dense arrays of technical specifications and imagery that can easily overwhelm a prospective buyer.
Utilizing a glossy top-coat allows marketing teams to establish a clear visual hierarchy. By running the varnish over pricing tables, key data points, or hero product images, you seamlessly guide the reader’s eye to the most critical conversion zones on the printed product and maximize page engagement.
5 Tips to Help You Design for Spot UV Printing
Spot UV printing is a complex process with several steps. To achieve the best results, it’s important to carefully plan your design.
Here are some helpful tips to guide your design process.
Tip 1 – Always Keep Your Designs Clean and Simple
Simplicity is the key to an effective spot UV coating. Excessive use of glossy elements can dilute the overall impact of the design, leading to a cheap-looking feel.
The spot UV layer should stand out against the matte finish of the base material. Limit the use of spot UV to logos, titles, and other important information.
Tip 2 – Focus on High-Impact Areas
Spot UV will yield the best results when applied strategically. The high-impact areas of any design will be the logos, titles, promotional messages, limited-time offers, discounts, and pricing. This will draw attention to the most important parts of your design and enhance their visibility.
Tip 3 – Ensure Precise Alignment
Misalignment between the digital print and the UV layer can ruin a design. To ensure the precise application of the UV layer, add alignment markers to the corners of your design.
High-quality printing equipment helps reduce alignment errors.
Tip 4 – Consider the Surface of the Substrate
The spot UV process enhances everything on the printed surface. Ideally, it should only highlight the design and colors. However, it can also bring surface imperfections to the forefront. Any minor dents and defects will become even more apparent after UV printing.
This process is best suited to smooth surfaces such as coated/laminated paper, plastic sheets, or cardboard. While spot UV can be used oncloth, foams, wood, metals, and other materials, the finished results will vary drastically.
By following these simple tips, you can elevate your designs and maximize their impact.
FAQs
Q1: Can Spot UV printing be applied to both sides of a package or card?
Yes, but it is rarely recommended for opposing sides due to structural production risks. Curing heavy resin layers on both sides under intense ultraviolet lamps can warp the substrate or cause sheets to stick together when stacked. For the best results, apply the spot UV finish to the front to highlight your brand logo, leaving the reverse side matte to maintain flatness.
Q2: Is Spot UV coating environmentally friendly and recyclable?
Modern industrial Spot UV printing utilizes non-toxic, VOC-free photopolymer resins that regularly pass rigorous SGS certification. When applied over FSC-certified paperboards, the ultra-thin gloss film safely separates from the pulp during standard industrial recycling. This allows your luxury packaging materials to remain eco-friendly and fully recyclable without harming the planet.
Q3: What are the exact design specifications for a Spot UV mask file?
Your vector spot UV file must include a dedicated spot-color layer named “Spot UV” set to 100% Solid Black (K:100) with no gradients. Designers must maintain a minimum vector line weight of 0.5pt and text sizes of 6pt or higher to prevent varnish bleeding. Applying a 0.25pt trapping/choking strategy is also essential to absorb any minor shifting on the machine.
Q4: How can I get custom packaging that combines Spot UV with premium structural design?
You can easily partner with Packoi, an eco-conscious manufacturer specializing in turning your file setup into retail-ready custom boxes. We operate an FSC-certified facility with 24-hour rapid sampling, low MOQs, and strict quality control to ensure perfect execution, making us the ultimate partner for elite printed materials.
Conclusion
Implementing a spot UV finish is more than just a design upgrade; it is a high-yield investment in your brand’s retail positioning. By mastering the right file setup and pairing the liquid resin with a premium matte lamination, you transform standard packaging materials into an interactive unboxing experience that leaves a profound, lasting impression.
While there is an art to avoiding production pitfalls like line bleeding, working with an experienced manufacturer ensures flawless execution without disrupting your launch timeline.
Don’t let your products get lost in the noise of a trillion-dollar market. If you are ready to combine precise ultraviolet technology with top-tier structural engineering, the team at Packoi is here to guide you from vector artwork to the final printed product.
Get Custom-Printed Packaging from Packoi!
Packoi is one of the best packaging and printing companies in the world, specializing in high-quality custom packaging and printing. Contact us now to get a quote for your bulk packaging solutions.